Internet browsers typically deny access to unknown websites from your application programming interfaces and services. Doing this allows your server to share its resources only with clients that are on the same domain as yours and nobody else. However, there are times when you would like to relax this guard or would want to exercise more control over which websites should be allowed access to your server’s resources. Implementing CORS in Node.js on your server is the answer to such cases.
In this blog, we will cover:
- What is CORS in Node.js with Express?
- What is Express.js?
- What is Nodemon?
- Hands-on
- Conclusion
What is CORS in Node.js With Express?
CORS is an acronym that stands for “Cross-Origin Resource Sharing.” Cross-Origin Resource Sharing (CORS) is a browser-implemented HTTP-header-based mechanism that allows a server or an API (Application Programming Interface) to indicate any origins (different in terms of protocol, hostname, or port) other than its own, from which the unknown origin can access and load resources.
What is Express?
Express is a lightweight and adaptable Node.js web application framework that offers a comprehensive set of features for web and mobile applications. Creating a robust API is quick and easy with a plethora of HTTP utility methods and middleware at your disposal. Express adds a thin layer of fundamental web application features without interfering with the Node.js features you already know and love. Express is the foundation of many popular frameworks.
To know more about Express, refer to our blog here.
What is Nodemon?
Nodemon is a popular tool for the development of node.js-based applications. It simply restarts the node application whenever it notices changes in the file in your project’s working directory.
Required Installations

- CORS: It is a package that helps us enable cross-origin requests with various options.
- Express: It is basically a back-end web application framework for Node.js designed for building various web applications and APIs.
- Nodemon: It is a tool that automatically restarts the server whenever it detects any changes in the codebase.
Hands-on
In this hands-on, we will see how we can enable and use CORS in Node.js with Express. We will begin with creating a new directory on the local machine. Followed by that, we will initialize the application using git bash. Confirming the initialization, we will then install the required packages. Confirming the package installations, we will fill in the code with the route of the ‘GET’ method. Spinning up the server, we will hit the localhost URL and check if we get the data.
Then we will navigate to the different external sites and run the fetch method for the same URL in the sites console. Post seeing the CORS error, we will navigate back to the codebase and add the following sites in the origin so that we can resolve the error and fetch all the data. Then we will see how we can enable cors across all the websites. Post enabling it, we will check the same on the different sites’ consoles to see if we get the data using the fetch method.
Followed by that, we will have a look at how we can whitelist servers for enabling cors on specific environments. Then we will have a look at the different methods that can be enabled via cors to be able to use those methods across different websites and finally we will look at how CORS can also act as a middleware function in a route.
Note: Please ensure that Node.js is properly installed onto the local machine or else it might display multiple errors while following the process.
Create a new directory on your local machine.

Right-click in the directory and select Git Bash here.

In it, initialize the application executing the below command.

You can select the default configuration for the same.
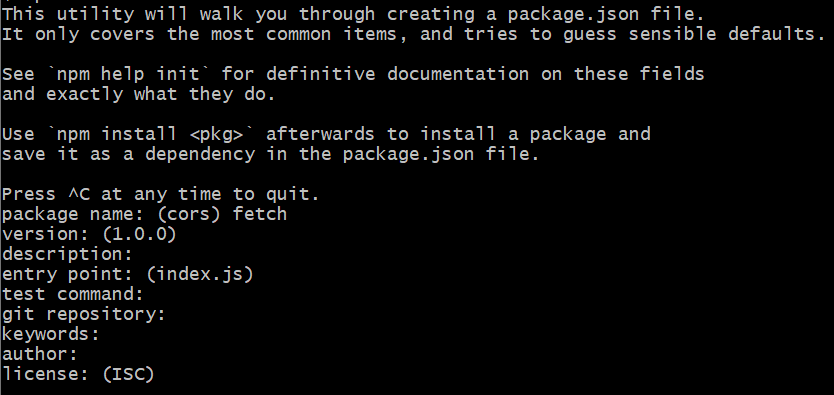
Finally, you’ll get to see the final object of the initialization. Enter yes.
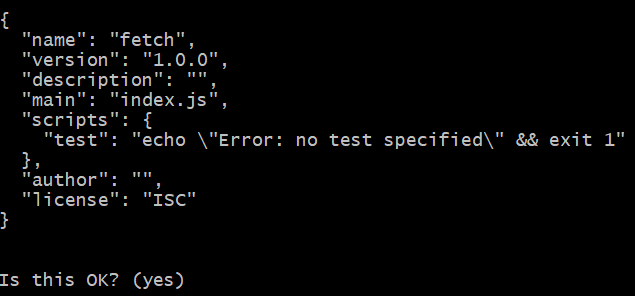
Open the directory into a code editor and you’ll see a package.json file created.

Open the file and you’ll see the entire configuration in it.

Now, run the below command to install the cors package.

On success, you will see the below on the screen.

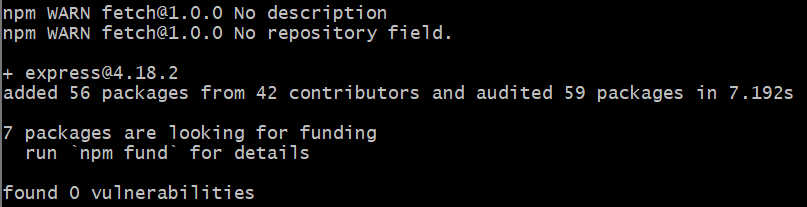
We also need to install the express package to be able to use the cors package.

On success, you will see the screen as shown below.
Finally, we’ll install the nodemon package so that the server restarts every time we make a change in the codebase.

On success, you will see the success screen as shown below.

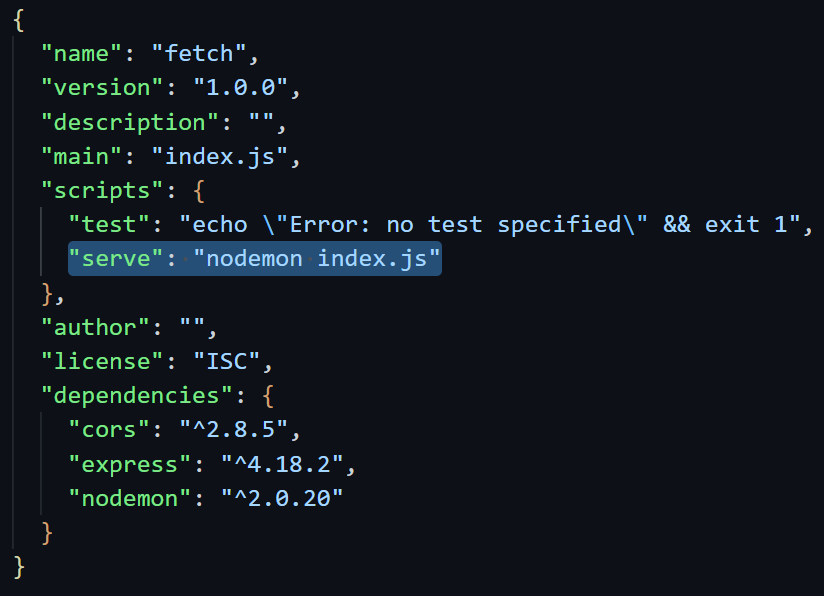
Now, open the package.json file and verify the installation of all the packages.

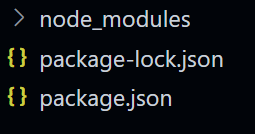
You’ll also see the following files added to your code directory.
Create a new file in the directory with the name index.js.

Open the index.js file and import the express package in it.

Create an array of objects with some users in it.

Create a get request route with the route URL to get the users on hitting the URL.

Finally, initialize the server to run on port 3000.

Now, in order to use the nodemon package, go to the package.json file and alter the script parameter as shown in the image below.
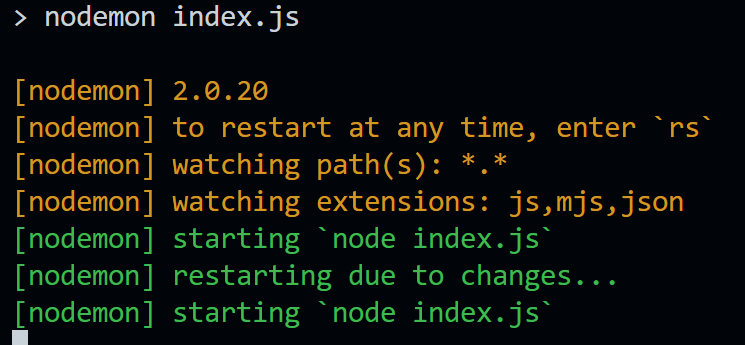
Now run the below command to start the server.

On success, the server will be started and ready to be served on port 3000.

Hit the following URL.

You’ll get to see all the fetched users.

Now, navigate to the workfall website.

Right-click on the website and click on Inspect or press F12.

Navigate to the console tab and clear the screen.

Use the fetch method with the following URL to get the users.

Since cors is not enabled, if you try to get the user details on any other site, you will get the following error message.

To resolve the above error, import the cors package in the index.js file.

Use the following code adding the origin as the website we tried to use the fetch method on.

Ensure that the server is up and running.
Navigate back to the website’s console and run the same method again. You’ll see that you won’t get the error message anymore and you’ll see the user details fetched and displayed on the console.

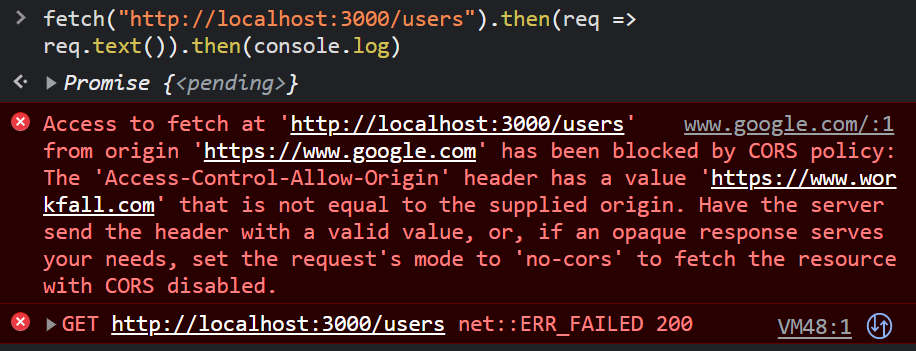
Now, let’s try the same from a different URL. Navigate to Google’s page.
Go to its console and enter the following method in the console.

You will get to see the same error message again.
To resolve the error message, navigate back to the codebase and add the google server in the list format in origin.

Now, navigate back to the console and hit the URL again. You will see that the result will now be displayed thereby fetching all the data.

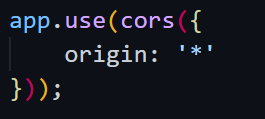
Now, if you need to enable cors on all the sites and make the data available across then you can change the origin to a star which means that you can use cors enabled for all websites.
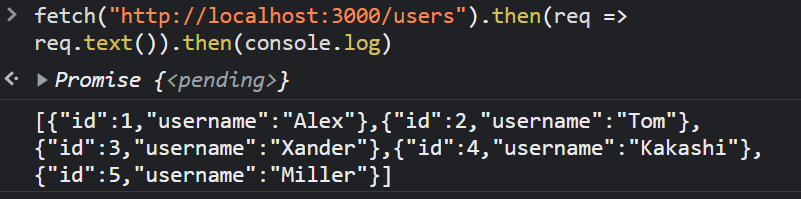
Navigate to the google page.

Go to its console and hit the URL using the fetch method. You will get the response as shown below.
Navigate to the workfall site.
Run the same method in the console and you’ll get to see the data.

Now as for the third test case. Navigate to Wikipedia’s official site.

Run the fetch method in its console and you’ll see the expected output with the list of all the users displayed on the UI.

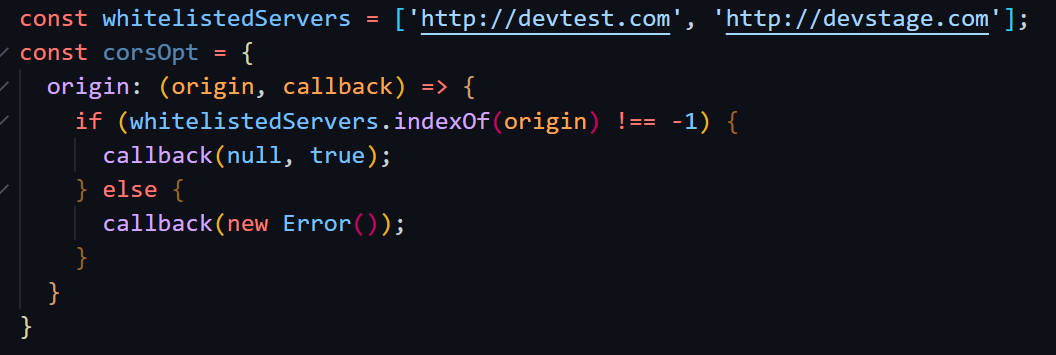
In case you have different environments for your application and you wish to enable cors only for the specific environments then you can whitelist the same using the below code and return an error using the callback function as shown below for other than the whitelisted servers.
Cors can be enabled for multiple methods and not just the GET method. You can also enable it for methods like PUT, UPDATE, DELETE.etc. using the below code.

We can also pass cors as a parameter to the route as a middleware function which in turn will make the checks to enable cors or not for a specific method.

Conclusion
In this hands-on, we saw how we can enable and use CORS in Node.js with Express. We began with creating a new directory on the local machine.
Followed by that, we initialized the application using git bash. Confirming the initialization, we then installed the required packages. Confirming the package installations, we filled in the code with the route of the ‘GET’ method. Spinning up the server, we hit the localhost URL and checked if we got the data.
Then we navigated to the different external sites and ran the fetch method for the same URL in the sites console. After seeing the CORS error, we navigated back to the codebase and added the following sites in the origin so that we could resolve the error and fetch all the data.
Then we saw how we can enable cors across all the websites. Post enabling it, we checked the same on the different sites’ consoles to see if we got the data using the fetch method. Followed by that, we had a look at how we could whitelist servers for enabling cors on specific environments.
Then we had a look at the different methods that can be enabled via cors to be able to use those methods across different websites and finally, we looked at how cors can also act as a middleware function in a route. We will come up with more such use cases in our upcoming blogs.
Meanwhile…
If you are an aspiring Node.js Lover and want to explore more about the above topics, here are a few of our blogs for your reference:
- How to Perform a Session-based User Authentication in Express.js?
- How to perform encryption and decryption of messages using Crypto in Node.js?
- How to connect to MongoDB using Mongoose and MongoDB Atlas in Node.js?
Stay tuned to get all the updates about our upcoming blogs on the cloud and the latest technologies.
Keep Exploring -> Keep Learning -> Keep Mastering
At Workfall, we strive to provide the best tech and pay opportunities to kickass coders around the world. If you’re looking to work with global clients, build cutting-edge products and make big bucks doing so, give it a shot at workfall.com/partner today!