


In this article, I’ll share how to create a custom Striim CentOS image with Packer, deploy it, and incorporate it into your infrastructure and DevOps stack. Before we set up our environment and start building and deploying the image, let’s go through the definitions of both tools.
What is HashiCorp Packer?
Hashicorp Packer is an open-source Infrastructure-as-Code (IaC) tool that enables you to quickly build and deploy custom images for cloud and on-premises environments. With Packer, you can create custom image builds for a variety of platforms, such as Amazon Web Services (AWS), Google Cloud Platform (GCP), Microsoft Azure, and more. You can use Packer to automate the process of building images from scratch, including creating, configuring, and optimizing them. Additionally, Packer can be used to efficiently deploy those images in multiple cloud locations or on-premises.
Packer is great for automating the creation of machine images so that they can be deployed quickly and easily. The tool supports a variety of image formats and has built-in support for various configuration management tools, such as Chef and Puppet. By using Packer, you can ensure that your images are always up-to-date and properly configured. This makes it easier to manage and maintain your infrastructure in the cloud or on-premises.
What is Striim?
Striim is an end-to-end streaming platform for real-time data integration, complex event processing, and analytics. It is designed to ingest, analyze, and deliver massive volumes of data from multiple sources including databases, files, messaging systems, and IOT devices.
By integrating Packer into the Striim deployment process, we can quickly create an automated environment that enables your analytics team to immediately replicate real-time data to data warehouses and/or RDBMS databases.
Pre-requisites:
- An available Linux (CentOS, Ubuntu, or Suse) machine.
- Install Packer in the machine. More information: https://developer.hashicorp.com/packer/tutorials/docker-get-started/get-started-install-cli
- Create a Service Account in GCP with Compute Instance Admin (v1) and Service Account User roles attached to it and generate the key. More info: https://blog.knoldus.com/how-to-create-a-custom-image-using-packer-in-gcp/#create-a-service-account-in-gcp
- A Striim license.
Setting Up Your Environment
Log in to your VM and verify Packer is installed by running this command:
$ packer --version

1.8.6
Once verified, copy the JSON key from the GCP service account to the home directory:
$ ls

account_key.json
Export the following environment variables for later configuration use:
# Values from the Striim license

export company_name=<company_name_from_striim_license>

export cluster_name=<cluster_name_from_striim_license>

export license_key=<license_key_from_striim_license>

export product_key=<product_key_from_striim_license
>
# Setting up the passwords for Keystore, admin, and sys users

export keystore_pass=<keystore_pass_for_striim_config>

export admin_pass=<admin_pass_for_striim_config>

export sys_pass=<sys_pass_for_striim_config>

export mdr_type=<mdr_type_for_striim_config>
Creating Your Striim Image
Create a shell script named striim_install.sh and add the following code to it:
Striim (V4.1.2) and Java JDK (V1.8.0) will be installed using this shell script, and Striim will be configured using the environment variables that we specified in the previous section. Note: This shell script installs Striim and Java JDK only in CentOS, RedHat, Amazon Linux 2, and SUSE Linux machines.
Create a JSON file named packer_striim_image.json and copy the following code:
The variables section declares variables for Packer from the environment variables that we exported in the previous section. More info: https://developer.hashicorp.com/packer/guides/hcl/variables
The builders section allows us to define the cloud provider and provide information about our GCP project. More info: https://developer.hashicorp.com/packer/plugins/builders/googlecompute
The provisioners section uses built-in and third-party software to install and configure the image after booting. In our case, we are copying our striim_install.sh to the machine’s /tmp/ directory and executing the script to install Striim and its dependencies. More info: https://developer.hashicorp.com/packer/docs/provisioners
Once these files are created, we should see a file structure like the one below in our home directory:
----- home/

-- gcp_account_key.json

-- packer_striim_image.json

-- striim_install.sh
Deploying Your Image to Google Cloud Platform
Let’s run the following commands to validate our Packer JSON file:
$ packer validate packer_striim_image.json

The configuration is valid.
Once we verified that it is valid, we can deploy our image:
$ packer build packer_striim_image.json
...

==> Wait completed after 3 minutes 36 seconds
==> Builds finished. The artifacts of successful builds are:

--> googlecompute: A disk image was created: gcp-custom-striim-image-167888819
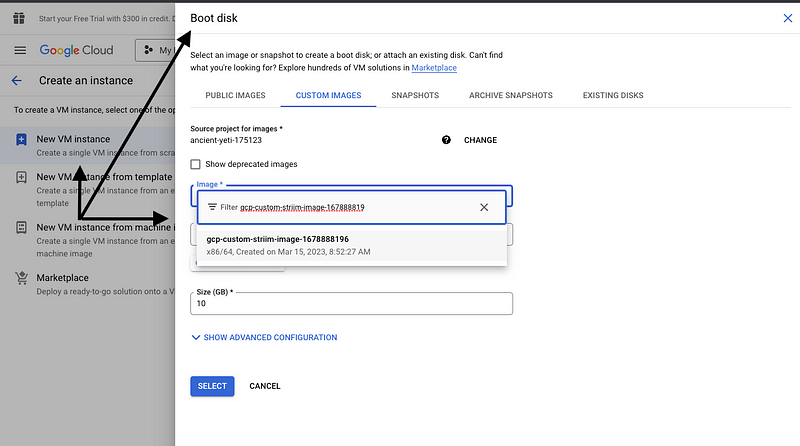
We can copy the image name gcp-custom-striim-image-167888819 and use it to build a VM in GCP to check that Striim is correctly installed on this image:
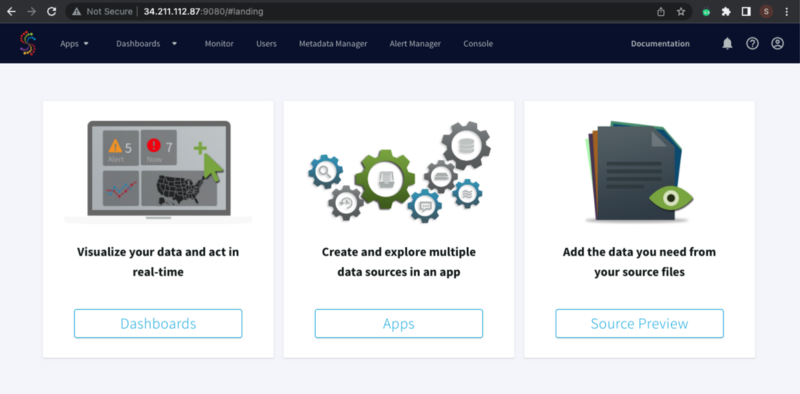
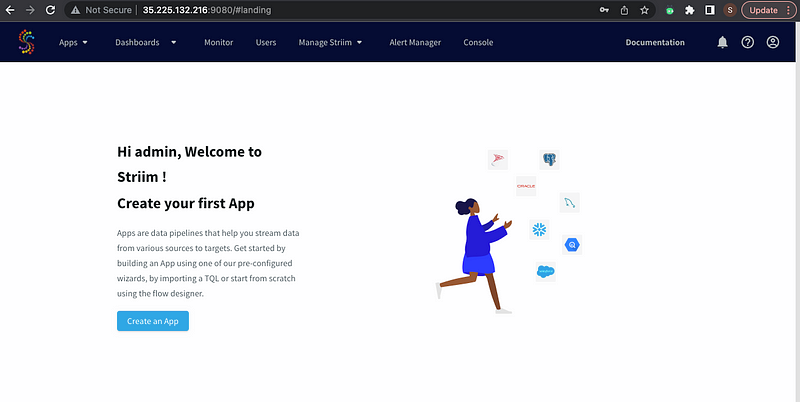
We can access the Striim UI by navigating to <public_or_private_ip>:9080 in the browser once the VM is in the “Running” state:
In conclusion, Packer is a powerful tool that can be used to create a more efficient infrastructure-as-code approach. With Packer, image builds and deployments can be automated in a secure and consistent manner. This automation allows you to quickly build and deploy Striim images without worrying about manual configuration errors. In addition to this, using Striim Cloud can fully automate this entire process. Visit the Striim Cloud page for a fully managed SaaS service/solution and Pay As You Go option to reduce total cost of ownership.