Obtaining a user’s location is a critical requirement for many modern web applications, such as location-based services, personalized content delivery, and targeted marketing. However, without proper guidance and understanding of HTML and JavaScript geolocation techniques, developers often face challenges in implementing this feature effectively. In this blog, we aim to address these challenges and provide a clear, concise, and beginner-friendly guide on how to get the user’s location using HTML and JavaScript, empowering developers to seamlessly integrate geolocation functionality into their web projects.
In this blog, we will cover:
- What is Geolocation API?
- What is Mapbox?
- Hands-On
- Conclusion
What is Geolocation API?
The Geolocation API in JavaScript provides a straightforward way for web applications to access and retrieve the geographical location of a user’s device. This API is part of the Web APIs standard, and it is supported by modern web browsers on various platforms, including desktop and mobile devices.
With the Geolocation API, developers can obtain the latitude and longitude coordinates of the user’s device, enabling location-based functionalities in web applications. It allows you to create location-aware web apps, such as mapping applications, weather services, location-based search, and more.
What is Mapbox?
Mapbox is a popular platform that provides mapping and location-based services through its API (Application Programming Interface). The Mapbox API allows developers to integrate dynamic and interactive maps, geolocation features, and geospatial data into their web and mobile applications.
With the Mapbox API, developers can create custom maps with various styles, and add markers, annotations, and other interactive elements to enhance the user experience. The API also enables geocoding, which allows you to convert addresses or place names into latitude and longitude coordinates and vice versa.
Hands-On

Required Installations
To perform the demo, you require the following installations:
- Visual Studio Code (IDE): It is a feature-rich source code editor designed to enhance coding speed and efficiency by offering a wide range of useful tools.
- Any web browser: You will require a web browser to run and test the feature.
- Live Server: It is a VS Code extension that enables real-time preview and live reloading for web development.
In this hands-on, we will learn how to use HTML and JavaScript to find the user’s current location. We’ll visualize this location on a map by using the Mapbox API. We’ll start by creating a new folder to keep our code organized. Then, we’ll install the Live Server extension to make our development process smoother. Next, we’ll write simple HTML, CSS, and JavaScript code to access and show the user’s location. Once we have the location data, we’ll create a free account on Mapbox and easily connect it to our code. The best part comes when we plot the coordinates on a map, giving us a cool visual representation of the user’s location. By following along, you’ll have a fun and rewarding experience building your own location-aware web application.
Create a new directory on your local machine.

Open VS Code and click on open, to open the directory you just created.

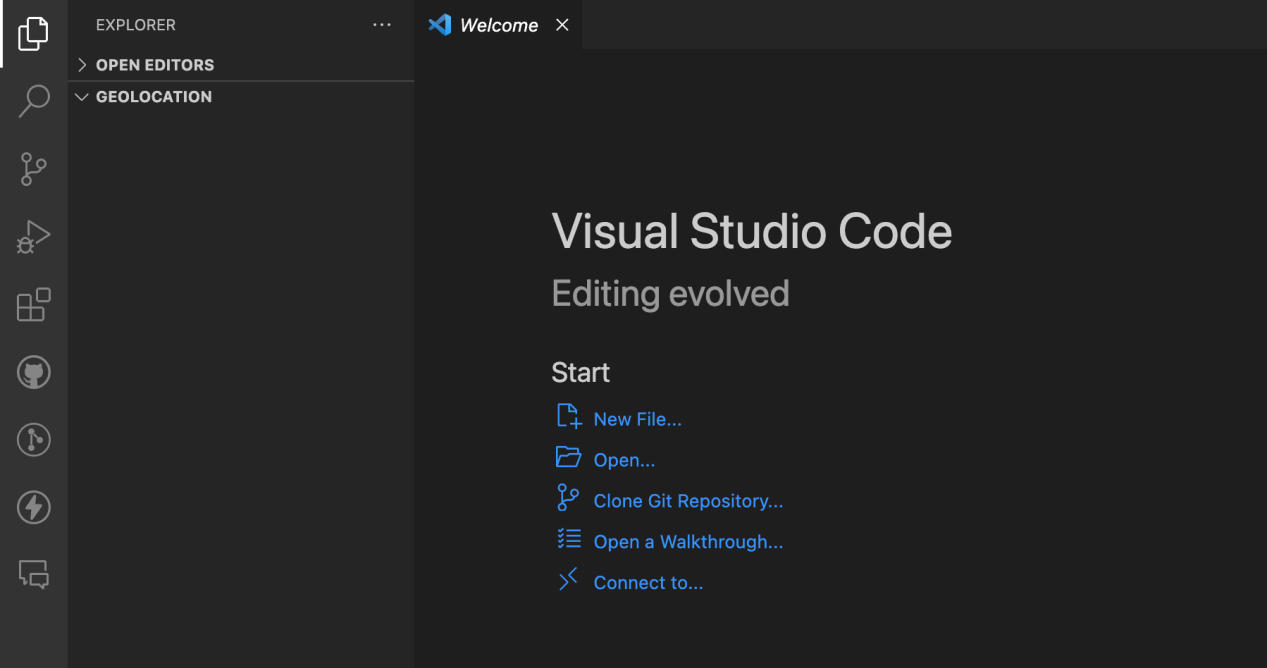
After opening the newly created directory, you will see a welcome screen like this.
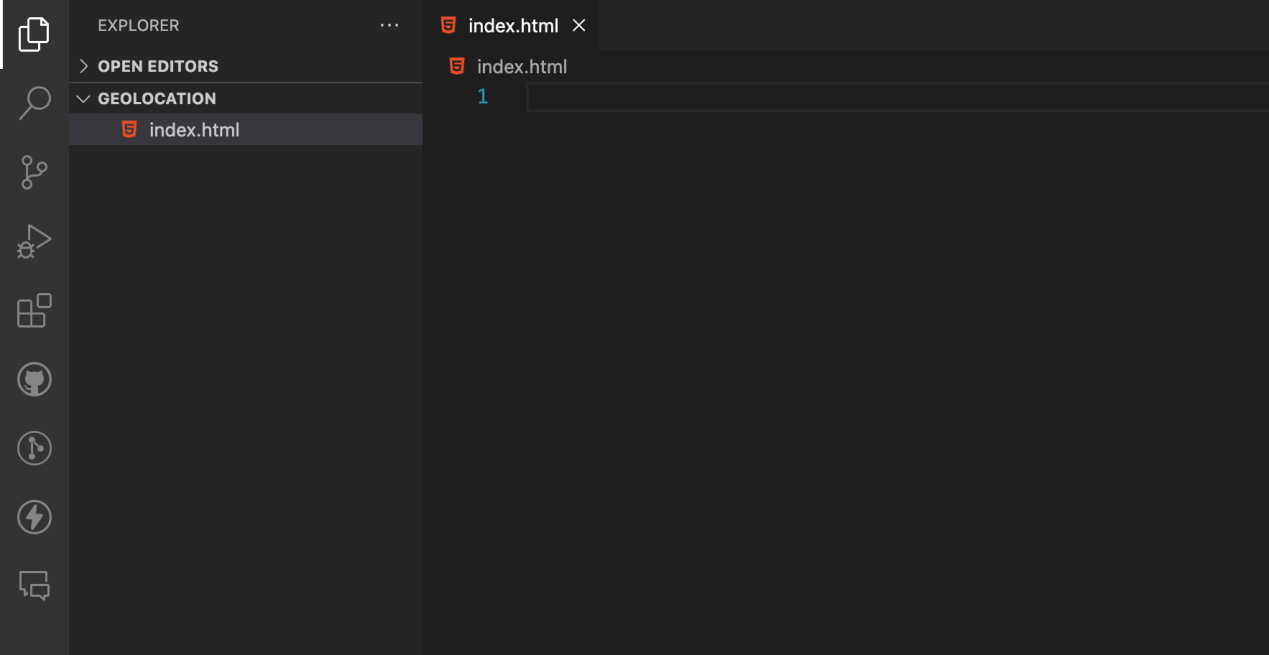
Now, right-click on the folders structure and click on create new file.

Enter a filename and save the file as index.html.
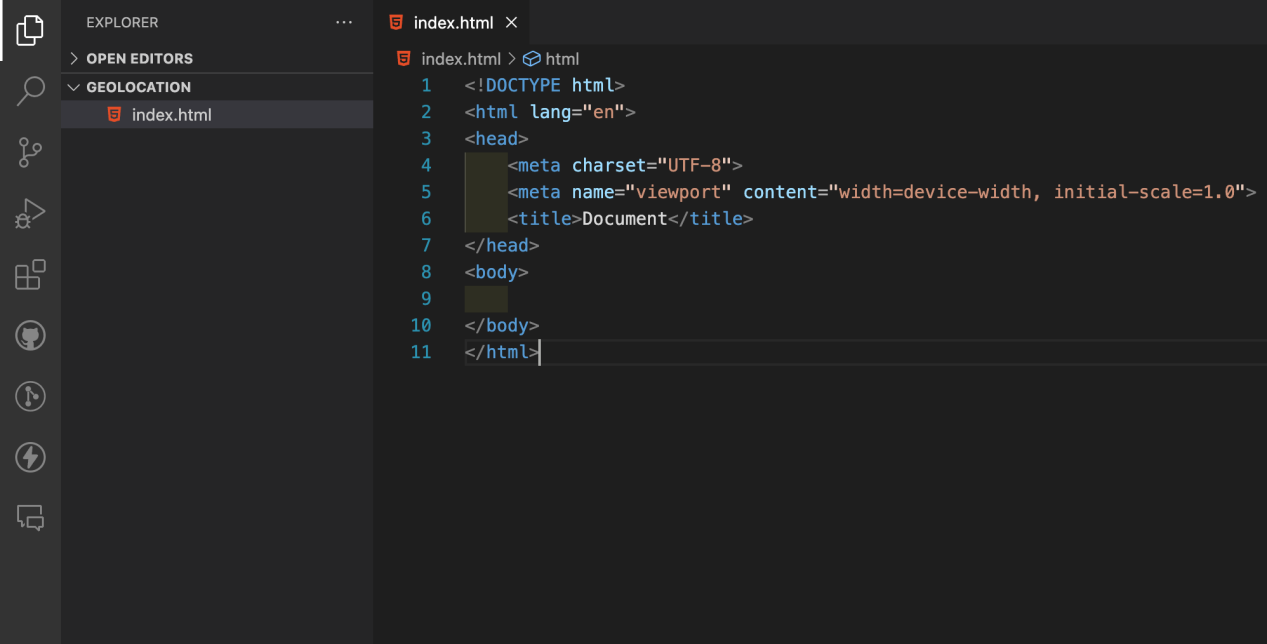
Write the boiler plate code for HTML.
Now, we will install the Live Server VS Code extension. To do so, click on the extensions from the left-hand side menu or press up arrow key + ctrl (command for Mac) + X on your keyboard.

Type in “Live Server” in the search bar and click on the first extension.

Click the “Install” button to install the extension.

After installation is done, you will be able to see an icon of Live Server at the bottom right corner of your VS Code window.

Now, open the index.html file that you created earlier and click on Go Live at the bottom right corner of the VS Code window.

After clicking on Go Live, you will be redirected to your browser and the output of your HTML file will be visible there. Currently, we have not written anything in our HTML file so you will see a blank page on the browser as shown below.

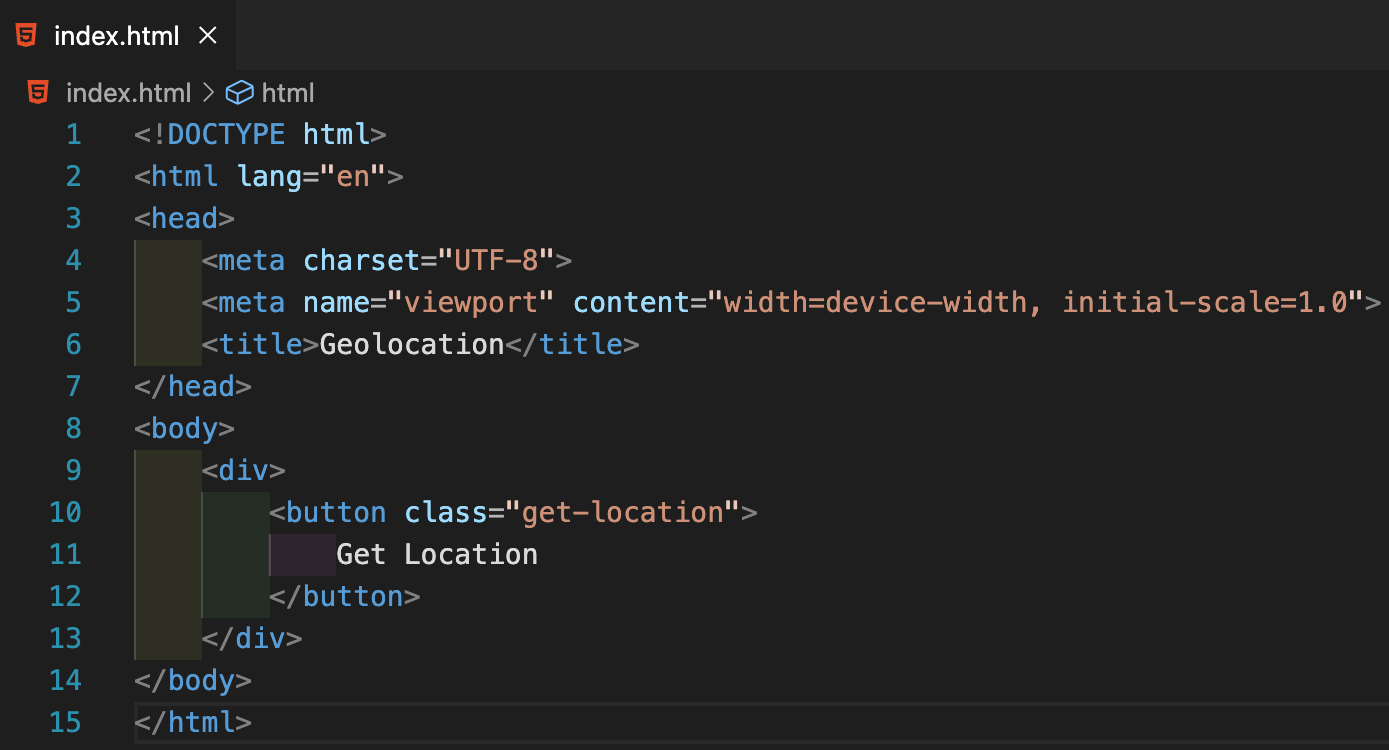
Now, let’s change the title of our HTML page. See line no. 6.

Open your browser to check if the new title is visible. You will not need to reload the page, Live Server extension will handle that for you.

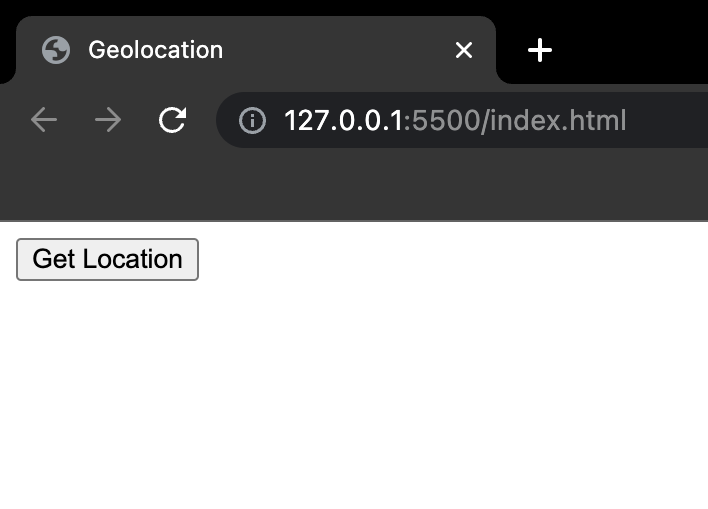
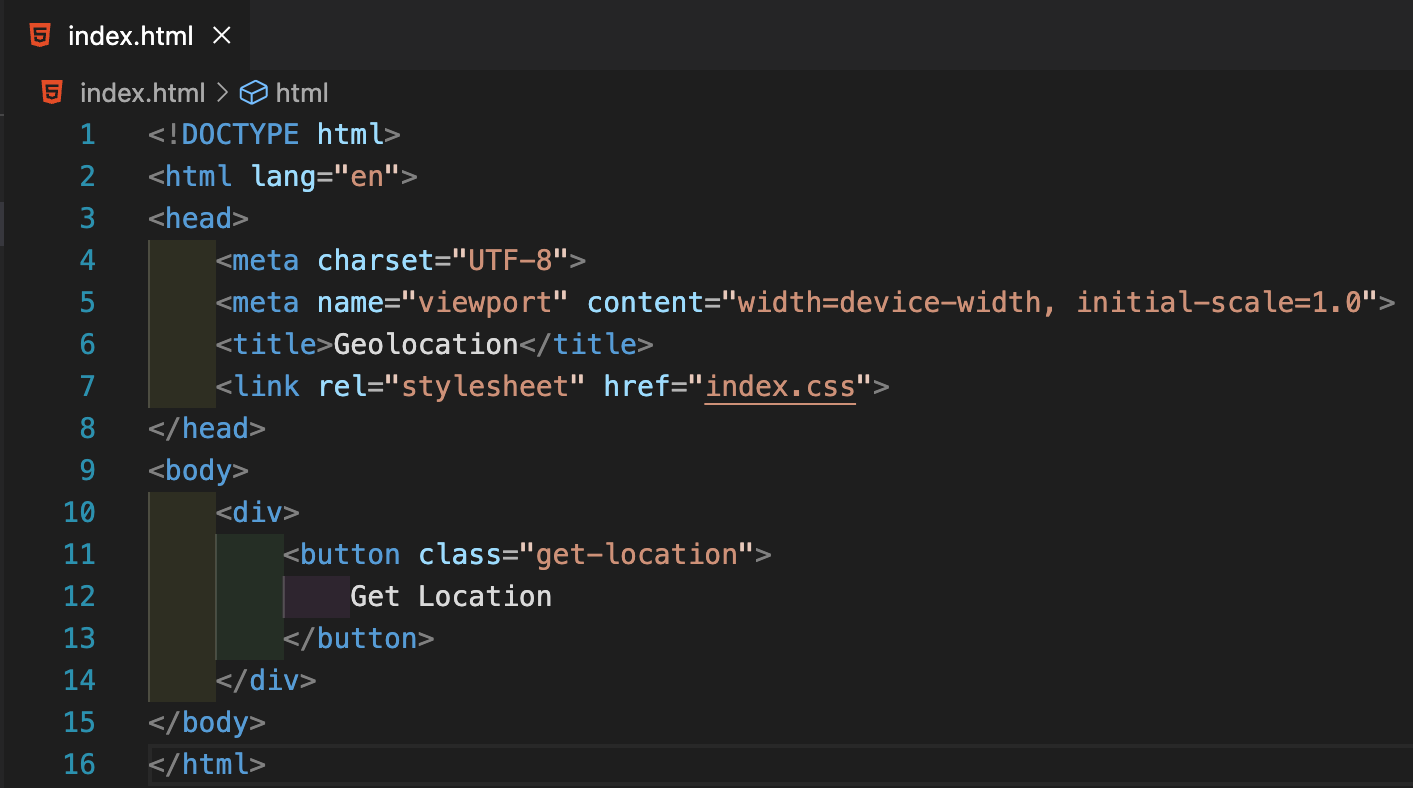
Now we will write some code to create a button on our web page.
Open your browser to see the output.
Now let’s write some CSS code to improve the styling of the button and the web page
Right-click on the folder structure and click on Create a new file.

Enter a file name and save the file as index.css.

Write the below code in the index.css file.

Now, link the CSS code to our HTML file as shown below.
<link rel="stylesheet" href="index.css">
Put the above line of code at the below-shown position.
Open your browser to see the output.

To obtain the user’s location upon a button click, JavaScript code is required along with an event listener attached to the button, allowing us to respond to the user’s click event and access their location once consent is granted.
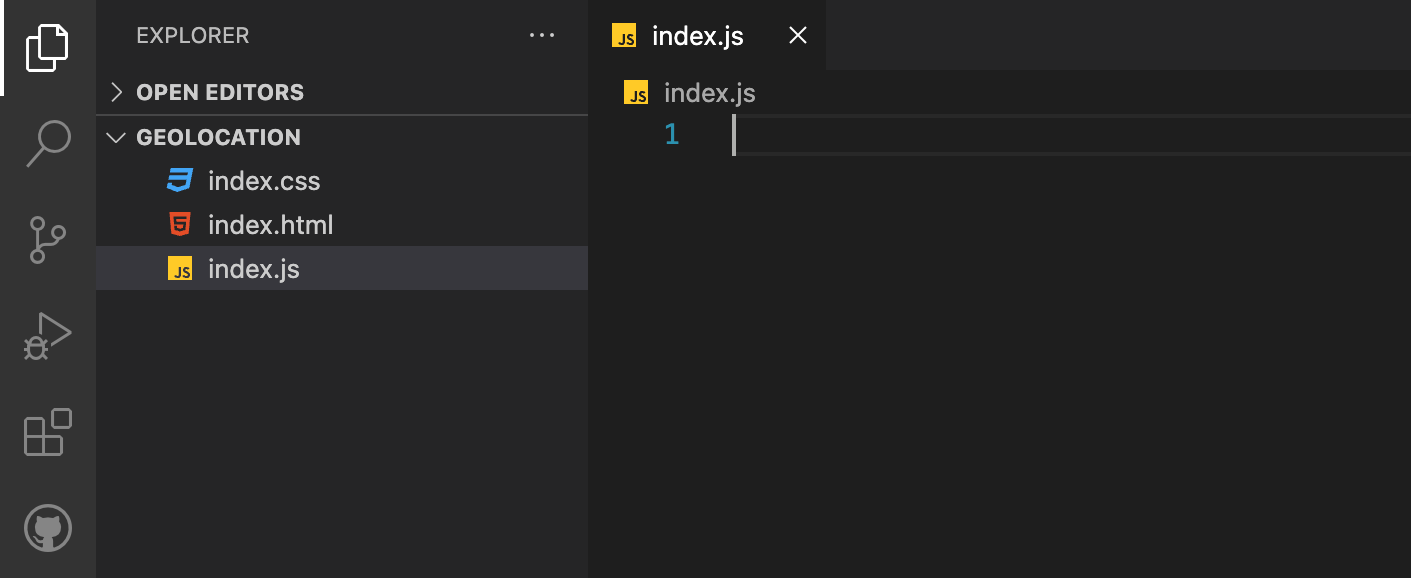
To do so, first, we will create a new file (index.js) to write the javascript code to access the user’s location.
Now, link the Javascript file to our HTML code.
<script src="index.js"></script>
Put the above line of code at the below-shown position.

Now, we will create a JavaScript function to obtain the user’s location. Within this function, we first check if the user’s web browser supports the Geolocation API. If it does, the code inside the if block can then proceed to use the getCurrentPosition() method to retrieve the user’s location.
inside the getCurrentPosition() function, we have passed two callbacks namely success and error, as the name suggests if the function returns with no error then success callback will execute and vice versa.

Now, let’s define the two callbacks. Upon successfully retrieving the user’s location, we will log the position data to the console, providing the latitude and longitude information. In case any error occurs during the process, we will gracefully handle it by displaying an alert to the user, informing them about the encountered error.

To enable the retrieval of the user’s location upon clicking the button, we will add an on-click event listener to the button element.

Open your browser and click the button. You will see a prompt asking for location permission.

Click on “Allow” and open your browser’s console.
Right-click anywhere on the screen and click on inspect to open the browser’s developer tools.

Click on “Console” to see the output.

If everything goes well, you will be able to see the output on your browser’s console. You should observe a GeolocationPosition object printed on the console, which contains the latitude, longitude, and other location-related information.

Now that we have obtained the user’s latitude and longitude, we can proceed to visualize the user’s current location by plotting these coordinates on a map. This will provide a visual representation of the user’s geographical position and enable us to display their real-time location on an interactive map interface.
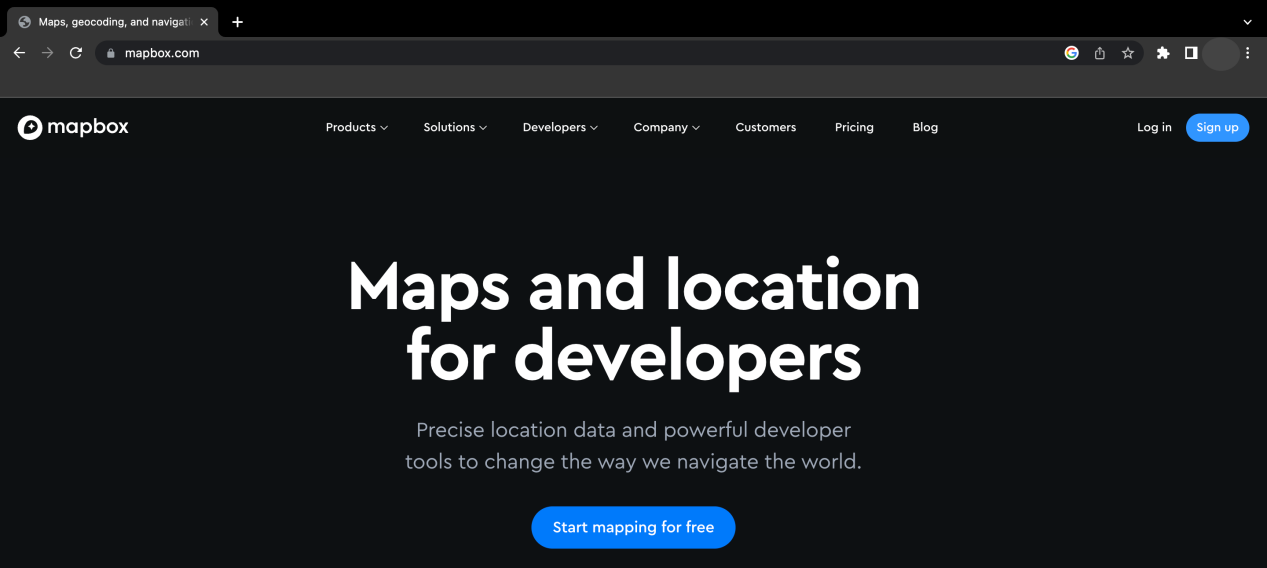
To accomplish this task, we will leverage an external API called “Mapbox.” With Mapbox, we gain the ability to plot the obtained latitude and longitude coordinates on the map, creating a visual representation of the user’s position.
Open the Mapbox API homepage from this URL (https://www.mapbox.com) and sign up for an account.
It will ask for credit card details. We can use this API for a limited number of requests without any charges.
After successfully signing up you will be redirected to this page where you can see your default public access token. Note this access token, we will use this token to make API calls in the future.

Now, add the CDN of Mapbox API in the index.html file inside the head tag.
<link href="https://api.mapbox.com/mapbox-gl-js/v2.15.0/mapbox-gl.css" rel="stylesheet">
<script src="https://api.mapbox.com/mapbox-gl-js/v2.15.0/mapbox-gl.js"></script>
The updated code will look like as shown in the image below.

Now add a div tag to the HTML code with the id as “map”.
<div id="map"></div>
The updated code will look like as shown in the image below.

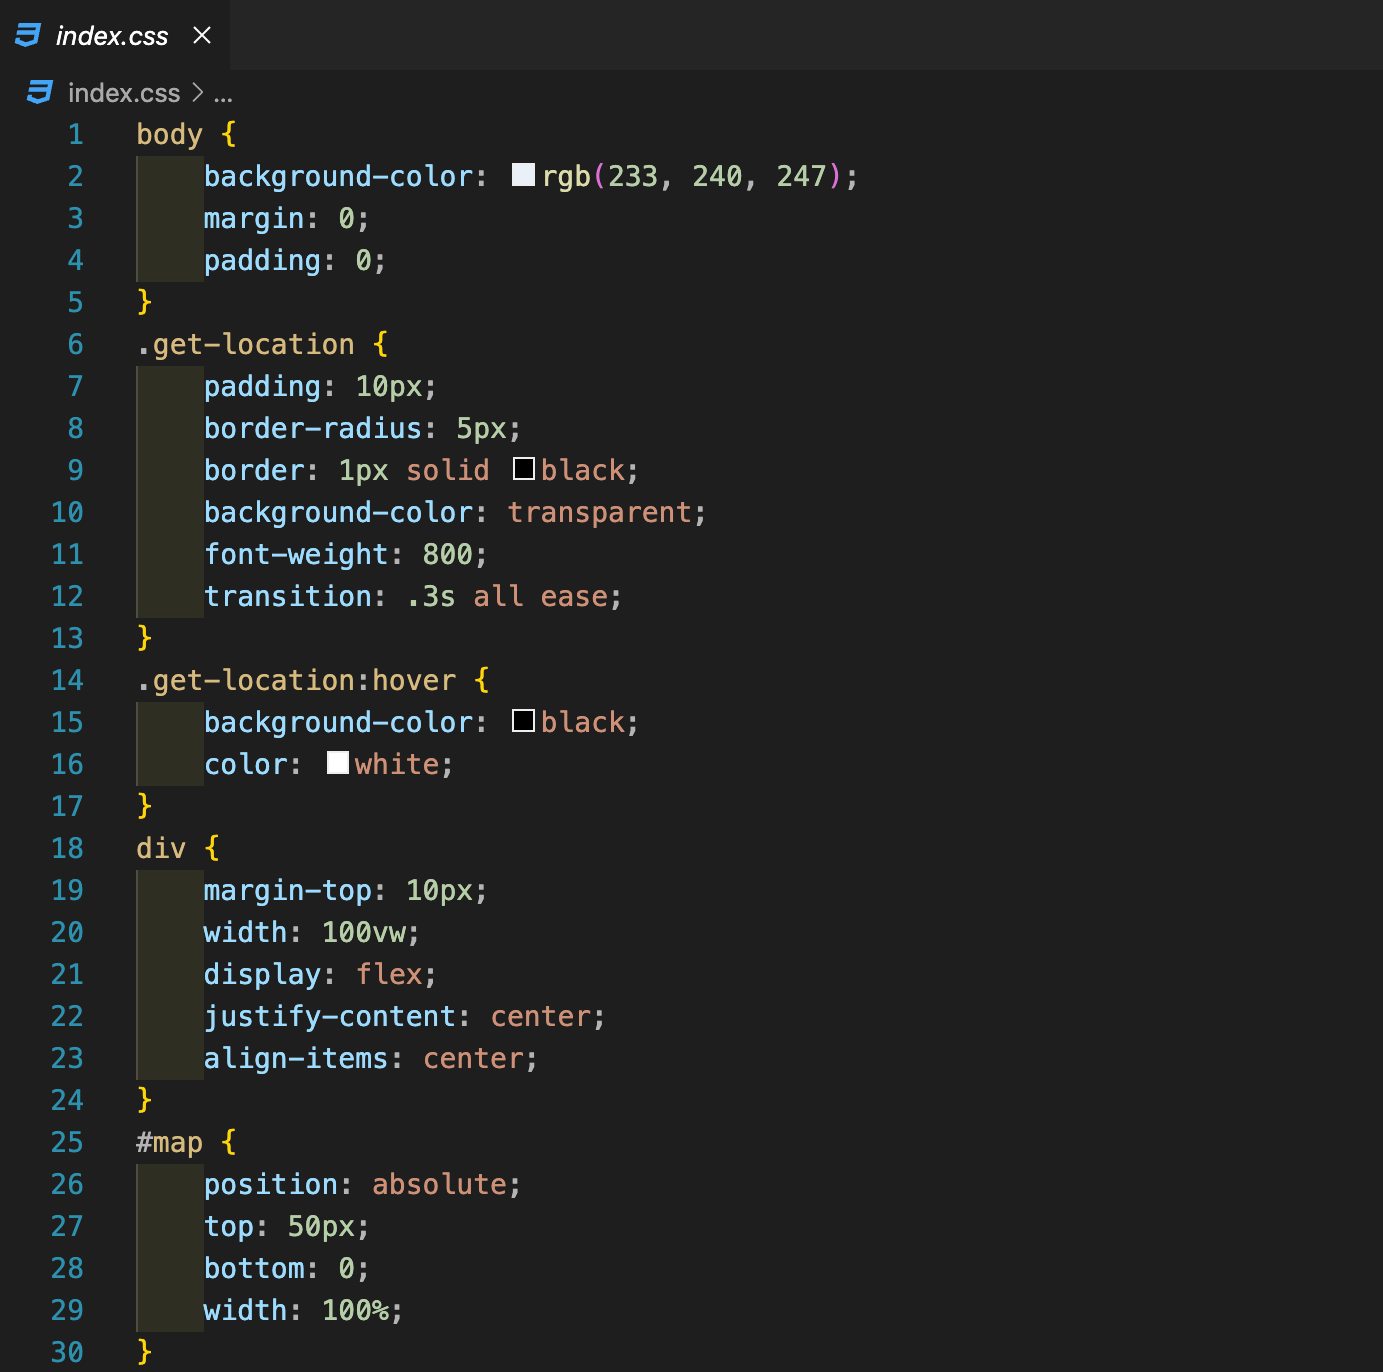
Write some CSS code to position the map on the page correctly.
#map {
position: absolute;
top: 50px;
bottom: 0;
width: 100%;
}
The final CSS code will look like as shown in the image below.
Now, we will write some javascript code to plot the user’s coordinates on the map
Inside the success function, remove the console.log statement and set the access token for the Mapbox API. Please note you have to paste your access token instead of <YOUR_ACCESS_TOKEN> placeholder.
mapboxgl.accessToken = '<YOUR_ACCESS_TOKEN>';
Create a new map using the Mapbox library and initialize it with these configuration options.
const map = new mapboxgl.Map({
container: 'map',
style: 'mapbox://styles/mapbox/streets-v12',
center: [position.coords.longitude, position.coords.latitude],
zoom: 8
});
Initialize a new marker object.
const marker = new mapboxgl.Marker();
Set user’s longitude and latitude to this marker object using the setLngLat( ) function and add this marker to the map using addTo( ) function provided by the Mapbox library.
marker.setLngLat([position.coords.longitude, position.coords.latitude]).addTo(map);
The final Javascript code will look like as shown in the image below.

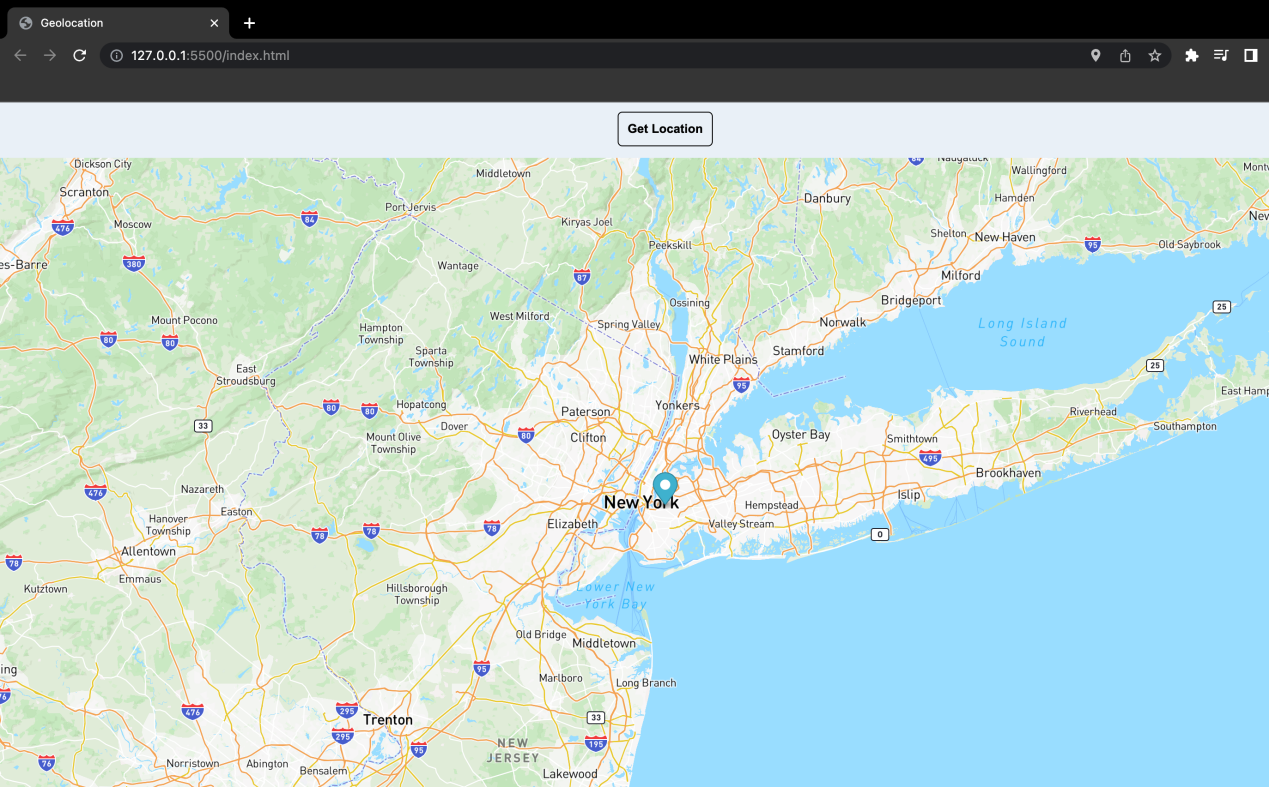
Let’s test the final code. Open your browser and click on the “Get Location” button, you will see a map with a marker at your current location.
Conclusion
In this hands-on, we have learned how to use HTML and JavaScript to find the user’s current location and visualize it on a map using the Mapbox API. We started by creating a new folder to keep our code organized, and the installation of the Live Server extension made our development process smoother. With the help of HTML, CSS, and JavaScript code, we accessed and displayed the user’s location. After obtaining the location data, we created a free account on Mapbox and integrated it into our code. Then we plotted the coordinates on a map, resulting in a visual representation of the user’s precise location. We will come up with more such use cases in our upcoming blogs.
Meanwhile…
If you are an aspiring Frontend developer and want to explore more about the above topics, here are a few of our blogs for your reference:
- How to create test cases and start testing the JavaScript code using Mocha?
- How to create Maps and Geofence using Amazon Location Service?
Stay tuned to get all the updates about our upcoming blogs on the cloud and the latest technologies.
Keep Exploring -> Keep Learning -> Keep Mastering
At Workfall, we strive to provide the best tech and pay opportunities to kickass coders around the world. If you’re looking to work with global clients, build cutting-edge products, and make big bucks doing so, give it a shot at workfall.com/partner today!