In our interconnected world, language barriers can hinder effective communication and collaboration. Thankfully, with the advancements in machine translation, it is now easier than ever to overcome these barriers. In this blog post, we will demonstrate how to leverage the Translate NPM package, combined with the powerful Libre Engine, to seamlessly translate text between different languages.
In this blog, we will cover:
- Translate NPM Package
- Libre Engine
- Hands-On
- Conclusion
Translate NPM Package
The Translate NPM package is a popular and versatile tool that provides a straightforward way to integrate translation capabilities into your JavaScript applications. It offers a range of features, including text translation, language detection, and transliteration. With its intuitive API, it allows developers to easily incorporate translation functionality into their projects.
Libre Engine
The Libre Engine, also known as LibreTranslate, is an open-source machine translation system that serves as the backbone of the Translate NPM package. Built on the principles of openness and privacy, the Libre Engine offers a powerful translation engine that can be self-hosted, giving you full control over your translation process. It supports a wide array of languages and provides high-quality translations.
Hands-On

Required installations:
To perform the demo, you require the following installations:
- Node.js: is a platform that offers a streamlined and effective runtime environment for creating JavaScript applications focused on server-side functionality and networking capabilities.
- Translate: The translate npm package allows us to efficiently and accurately perform the translations of texts/paragraphs to target languages.
- Node-fetch: The npm package is used to make HTTP requests in Node.js in turn to interact with the Web APIs.
In this hands-on, we will see how we can translate texts/paragraphs to different languages from a source language using the Translate package and the Libre engine.
We will begin with creating a new directory for maintaining our code base. Followed by that, we will initialise a new node js application. Installing the translation package, we will verify the same and begin with the code.
Executing the code we will check for the different errors. After overcoming each of the challenges and resolving the errors, we will then translate a simple set of words.
On success, we will reframe the code to make it dynamic from static. Once done, we will then test the same with the different sets of languages.
Finally, we will go through the different sets of engines provided by the translate package and how we can use them for performing the translation.
Create a new directory on your local machine.

Open the command prompt and run the command:

If the node is properly installed on your machine, then you will see the screen below. Enter a name for the project. Press enter.

Enter yes and press the enter key or else just press the enter key to initialise the folder creation.

Now, in the local directory, you will see a new file with the name package.json.

Now, open the directory in a code editor.

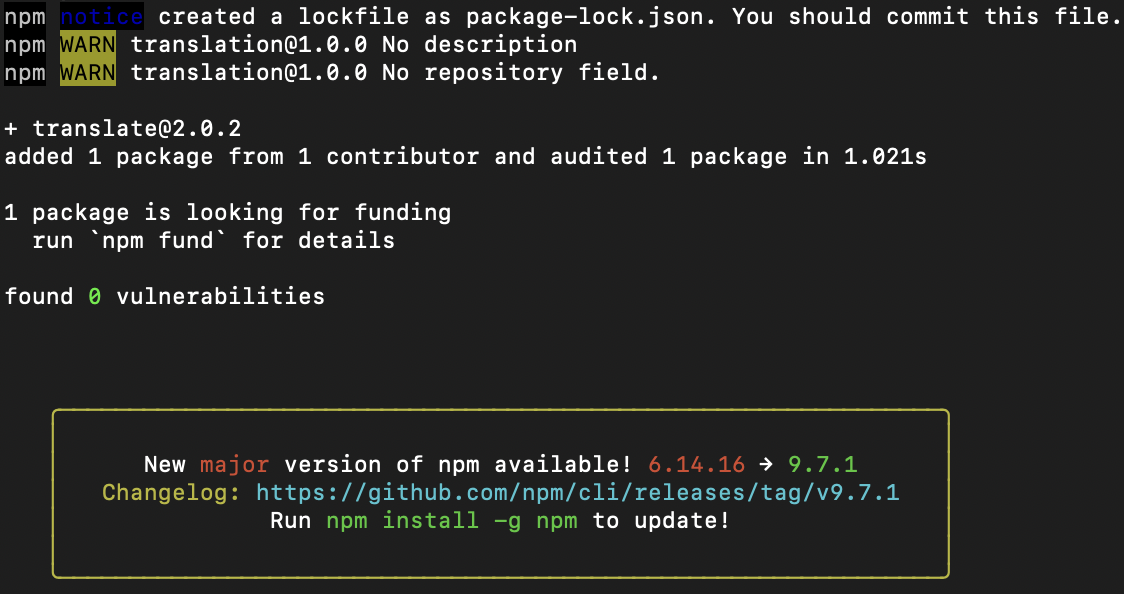
Open your command prompt and run the command as shown in the image below.

On successful installation, you will see the screen as shown in the image below.
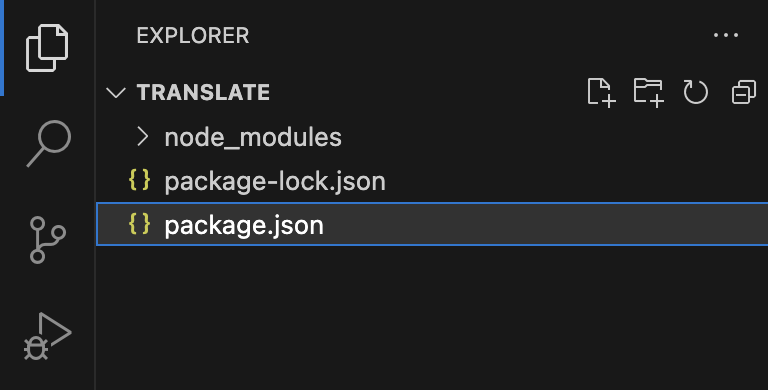
In the file structure, you will get to see the new folders and files created based on the packages you install.
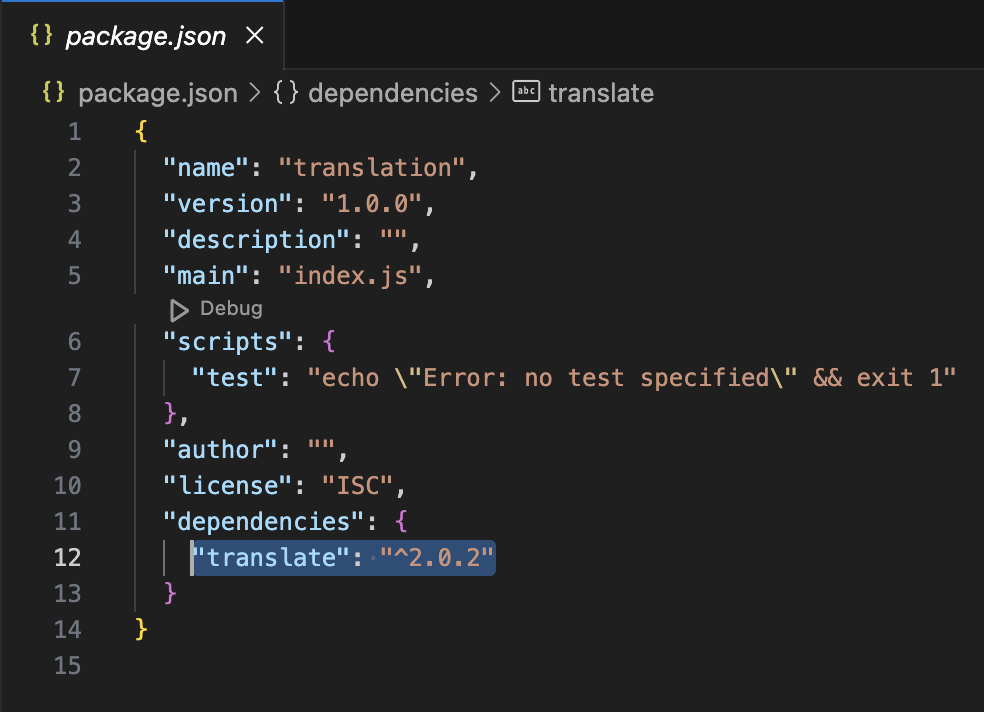
Now, post-installation if you open the package JSON file, you will see the translated package installed.
Now, right-click on the folders structure and click on create new file.

Enter a file name and save the file as index.js.
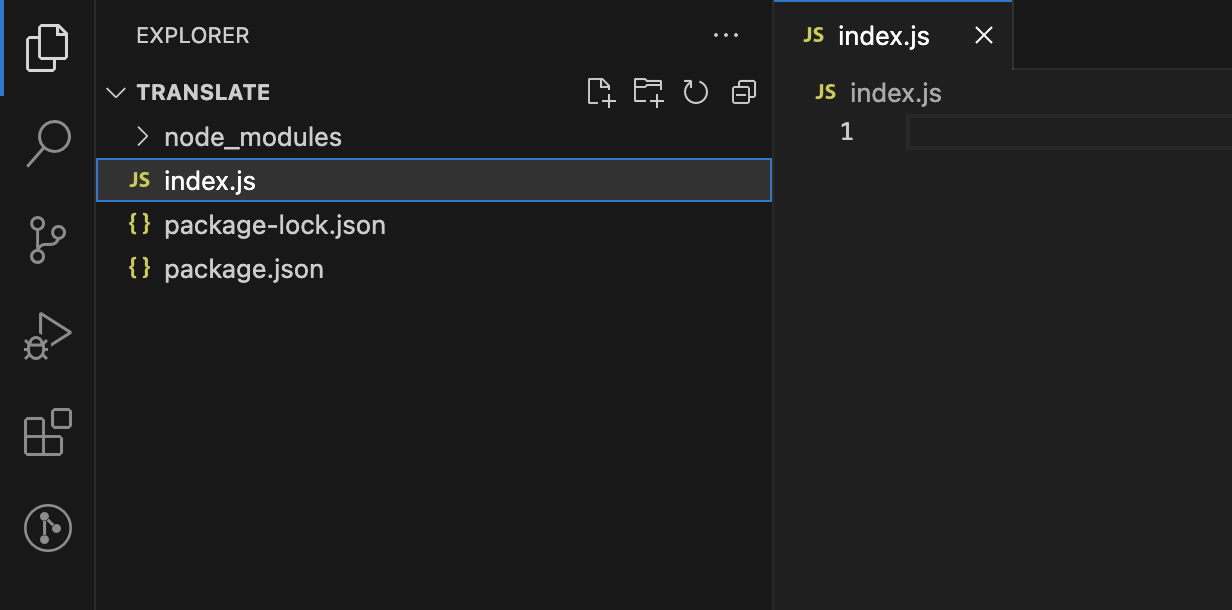
Now import the installed library translate.

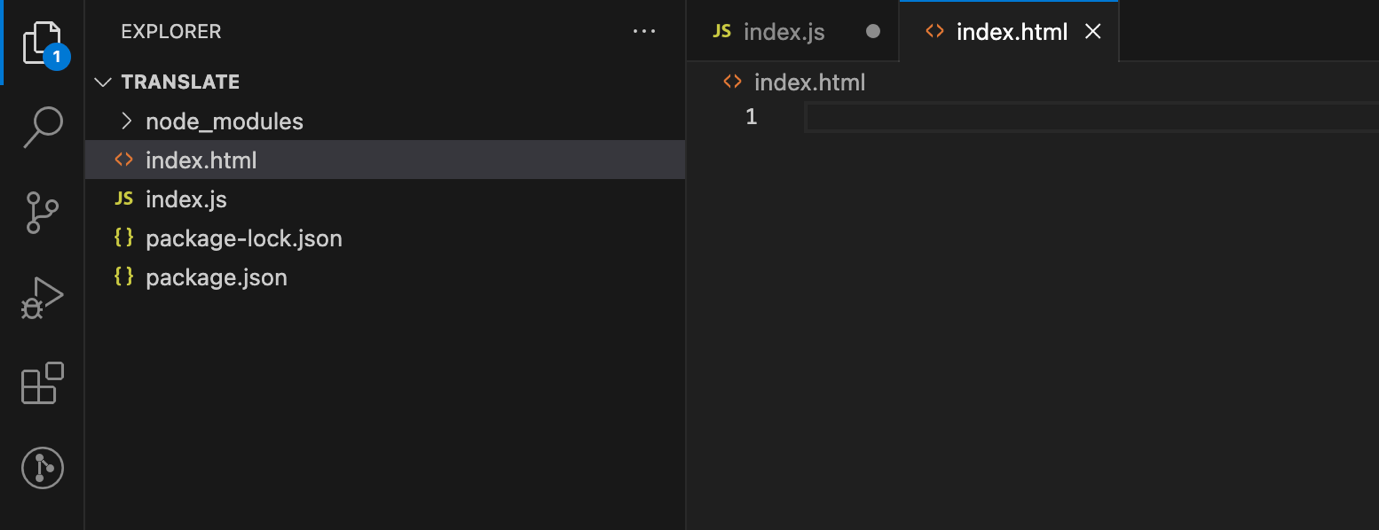
Another way of importing the package is by creating an HTML file. To do so, right-click in the folder structure and click on the new file.

Enter the name for the file index.html.
Import the translate CDN as shown in the image below.

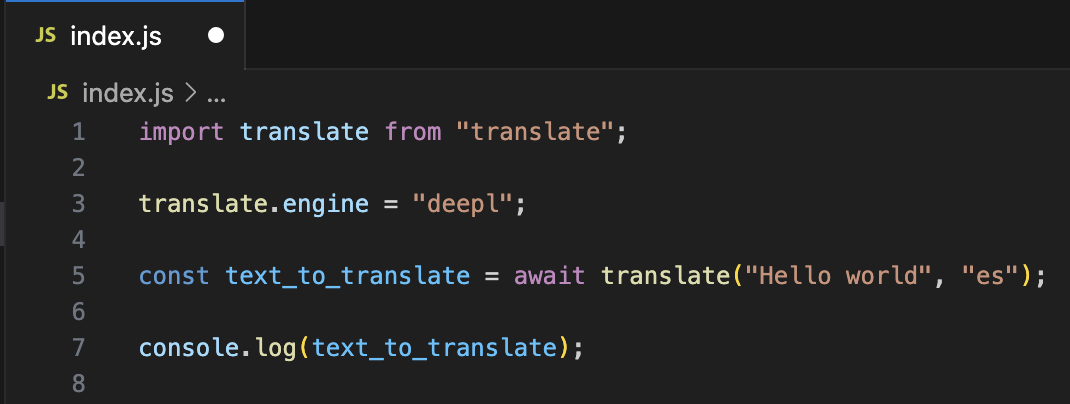
For the demo purpose, we will be continuing to write the code in node js. Navigate back to the index.js file and add the engine declaration code line as shown in the image below.

For this time of purpose, we will be using the translation engine as libre. Note that the translate package provides multiple engines and if we are to use different engines we need to have an access key for the same. In the case of Libre, we do not need an access key.

Declare a new variable using the translate package with parameters such as the word (that is to be translated) and the language’s short code (the target language to translate the word in).

For this purpose, we will first translate the word in Spanish so we will use the short code as ‘es’.

Finally, to print the output, we will use the below console.log line.

Now, the final code in the index.js file looks like as shown in the image below. Note that we have replaced the keyword ‘word’ with some text.
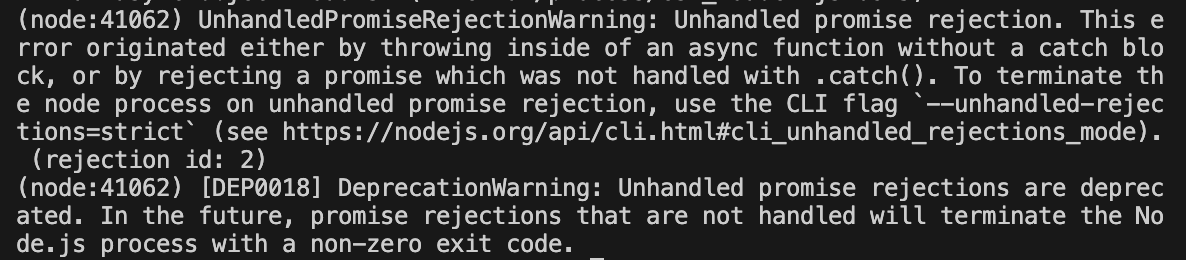
Open the command prompt and run the following line to start the server.

When you do so, you might receive an error as shown in the image below.

To resolve the error, we need to change the extension of the index.js file. Right-click on the file name in the folder structure and click on Rename.

Rename the file with the extension as index.mjs.

Now, save the file with the same code.

Run the below command to start the server again.

Doing so, you will notice that the console shows another error that the await keyword ain’t properly used. To resolve this, we need to create an async function.

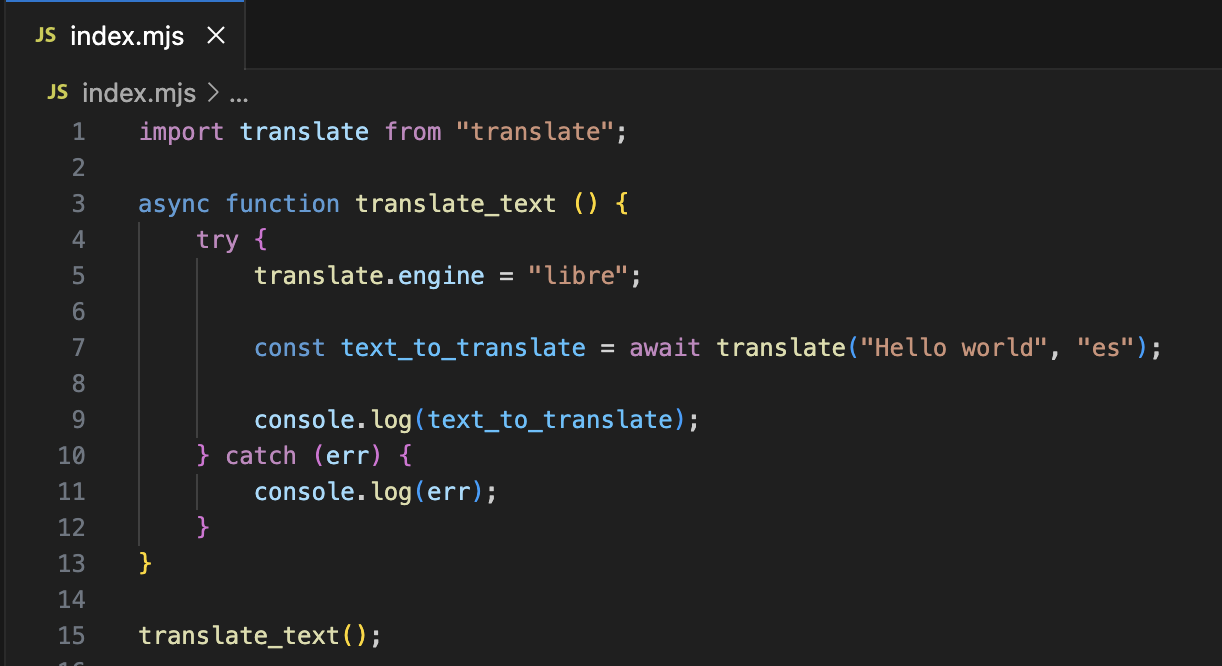
Create a new async function as shown in the image below.

Move the translation functioning code to the newly created function.

Outside the function, give a call to the same function.

The final code with function looks as shown in the image below.

Now run the below command:

Running the server, you will face another error that states that fetch is not defined.

Another error states that the promise is not handled properly.
First, we will resolve the promise error. To do so, add try and catch in the function.
Now re-run the server and you will see that the promises error is resolved.

There will be just one error for fetch.

To resolve that error, in the command prompt, run the command:

On successful installation, you will see the screen as shown in the image below.

Open the package.json file and reconfirm if the package is installed.
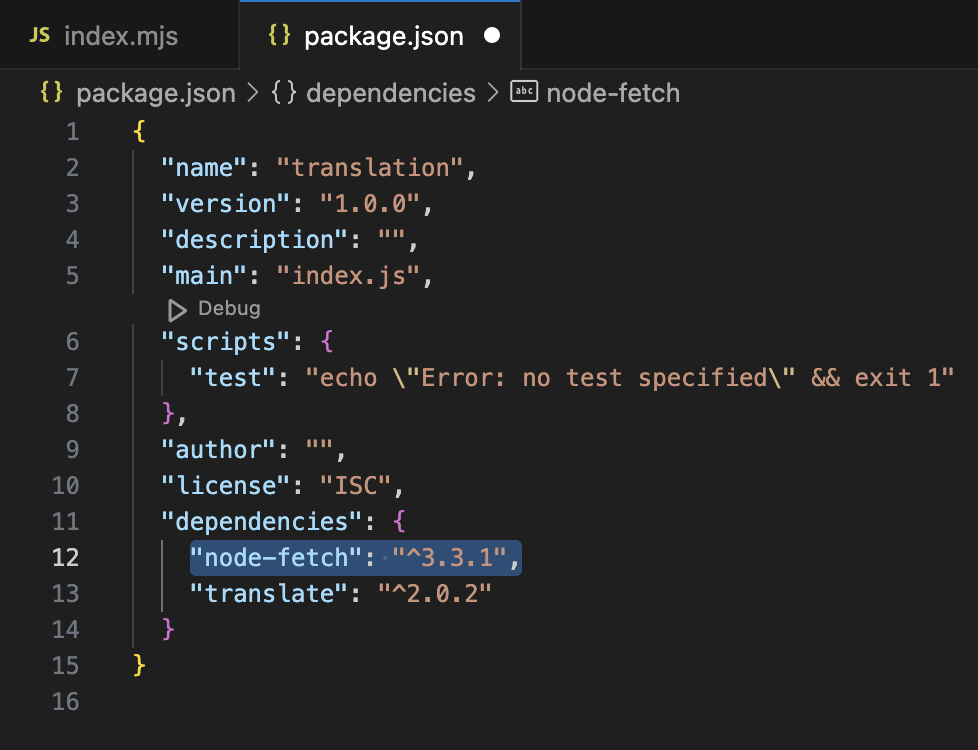
Navigate back to the index.mjs file. Import fetch from the newly installed node-fetch package. Add fetch before using the translate package as shown below. Add await for the function call.

Rerun the server using the below command.

On success, now you will finally see the translated text in Spanish.

Let’s dive into making the code dynamic.
Add two parameters in the translate_text function.
While using the translate package to translate the text, rename it with the function parameters.
While calling the function, add the text you wish to translate and the languages short code you want to translate the text into.

Re-run the server using the command:
node index.mjs
On success, you will see the translated text as shown below.

Now, let’s test if the code works for translating paragraphs. Outside the function, create a new variable with a paragraph in it and pass that variable as a parameter of the calling function.

Re-run the server and on success, you will see the translated paragraph as shown in the image below in Spanish.

Let’s test the package by translating the paragraph into French. Use the short code as fr for French.

Run the server and you will see the translated paragraph in French as shown in the image below.

As we mentioned above, we can use different engines for translation. One of which is deepl.
To use the same, we need to signup on the deepl portal and generate a key for usage. Signing up to the portal has its own charges.

Similarly, we can also use the Google engine. Again, for the Google engine, we need to have a GCP account to be able to create a key for usage.

Conclusion
In this blog, we demonstrated how we can translate texts/paragraphs to different languages from a source language using the Translate package and the Libre engine.
We began with creating a new directory for maintaining our code base. Followed by that, we then initialised a new node js application. Installing the translation package, we verified the same and began with the code. Executing the code we then checked for the different errors. Overcoming each of the challenges and resolving the errors, we translated a simple set of words.
On success, we reframed the code to make it dynamic from static. Once done, we then tested the same with the different sets of languages.
Finally, we went through the different sets of engines provided by the translate package and how we can use them for performing the translation. We will come up with more such use cases in our upcoming blogs.
Meanwhile…
If you are an aspiring NPM lover and want to explore more about the above topics, here are a few of our blogs for your reference:
- How to make use of an npm package Highcharts to plot Network Graphs in Angular?
- How to export data to a CSV file using multiple npm packages in Node.js?
- How to plot Bar Charts in Angular using npm package Highcharts?
Stay tuned to get all the updates about our upcoming blogs on the cloud and the latest technologies.
Keep Exploring -> Keep Learning -> Keep Mastering
At Workfall, we strive to provide the best tech and pay opportunities to kickass coders around the world. If you’re looking to work with global clients, build cutting-edge products, and make big bucks doing so, give it a shot at workfall.com/partner today!