Google Chrome
Google Chrome is a widely-used web browser developed by Google. It was first released in September 2008 and has since become one of the most popular and dominant web browsers in the world. Google Chrome is available for multiple platforms, including Windows, macOS, Linux, iOS, and Android.
Google Chrome Extension
A Google Chrome extension is a small software program that extends the functionality of the Google Chrome web browser. These extensions are designed to enhance and customize the browsing experience by adding new features, modifying existing ones, or integrating with other web services.
Hands-On

Required installations:
To perform the demo, you require the following installations:
- Visual Studio Code (IDE): It is a feature-rich source code editor designed to enhance coding speed and efficiency by offering a wide range of useful tools.
- Google Chrome browser: You will require the google chrome web browser to run and test the feature.
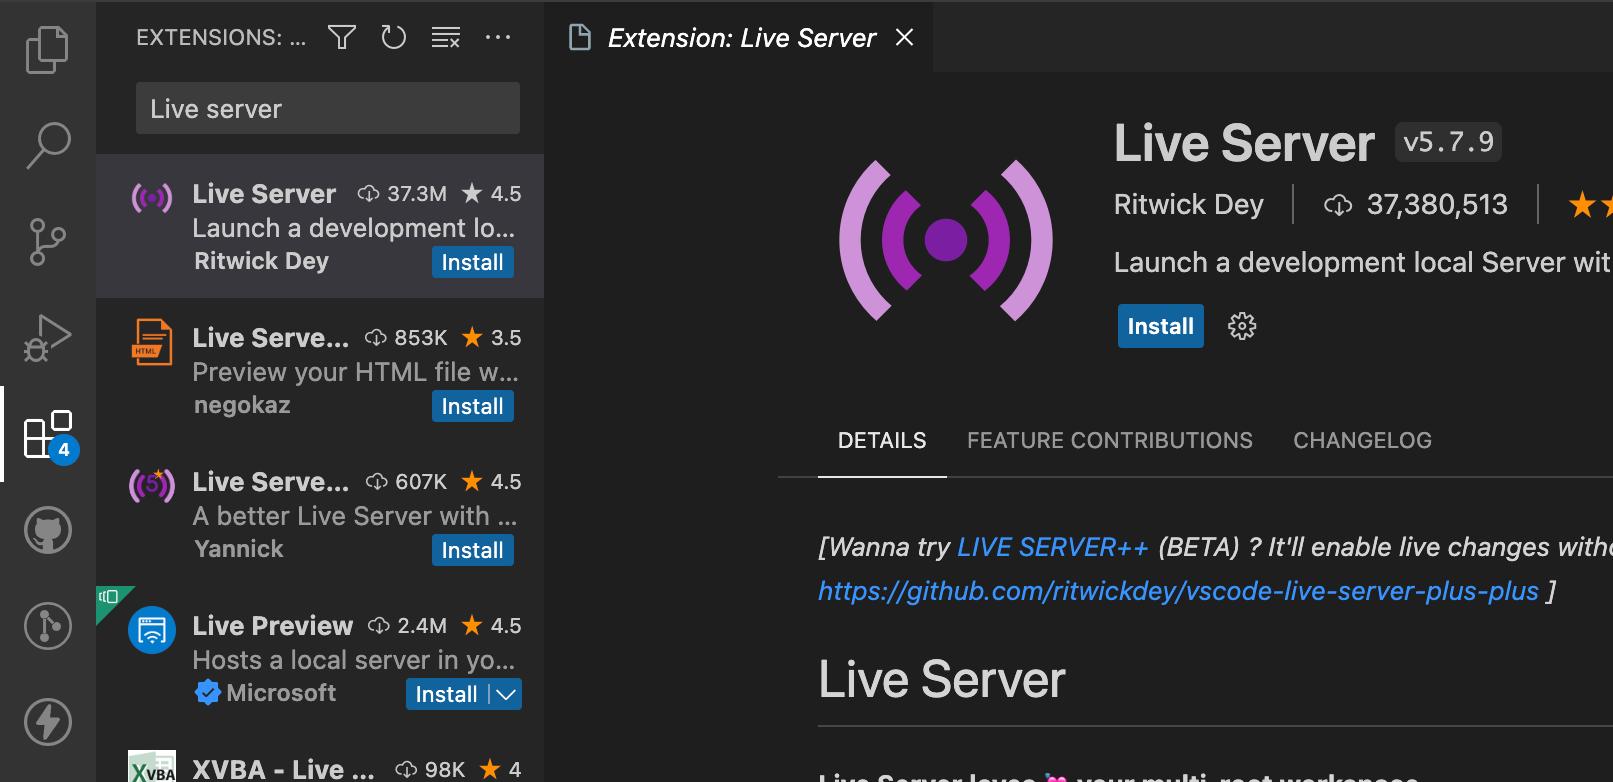
- Live Server: It is a VS Code extension that enables real-time preview and live reloading for web development.
In this hands-on, we will see how to create a Google Chrome extension from scratch using HTML, CSS, and Javascript. Our first step will be to ensure that we have the latest version of Google Chrome installed and a suitable code editor ready.
Once prepared, we will establish a dedicated directory for our extension project. Inside this directory, we’ll create a file named ‘manifest.json’. This file will play a crucial role in defining the metadata, permissions, and settings for our extension. As we progress, we will focus on developing the core components of our extension, including HTML, CSS, and JavaScript files. These components will serve as the building blocks of our extension’s functionality. In these files, we will write code for a weather report tool that will show the current weather status of our city.
Next, we will enter the testing phase. By enabling ‘Developer mode’ in Google Chrome, we’ll be able to load our extension and rigorously test its behavior. This mode will provide us with the necessary tools for debugging and fine-tuning our creation. So, let’s roll up our sleeves and embark on this exciting journey of creating our very own Chrome extension!
Create a new directory on your local machine.
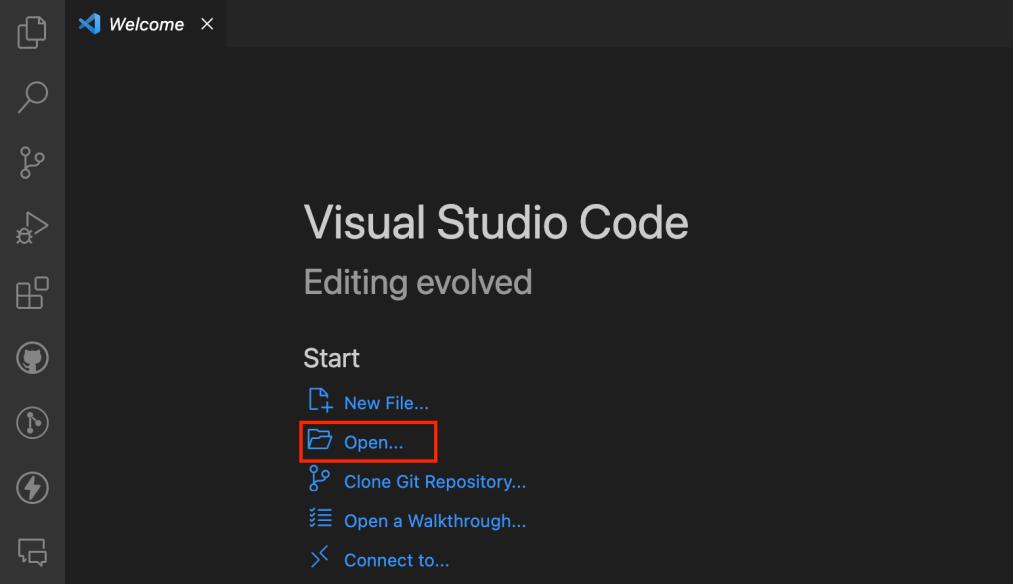
Open VS Code and click on open, to open the directory you just created.
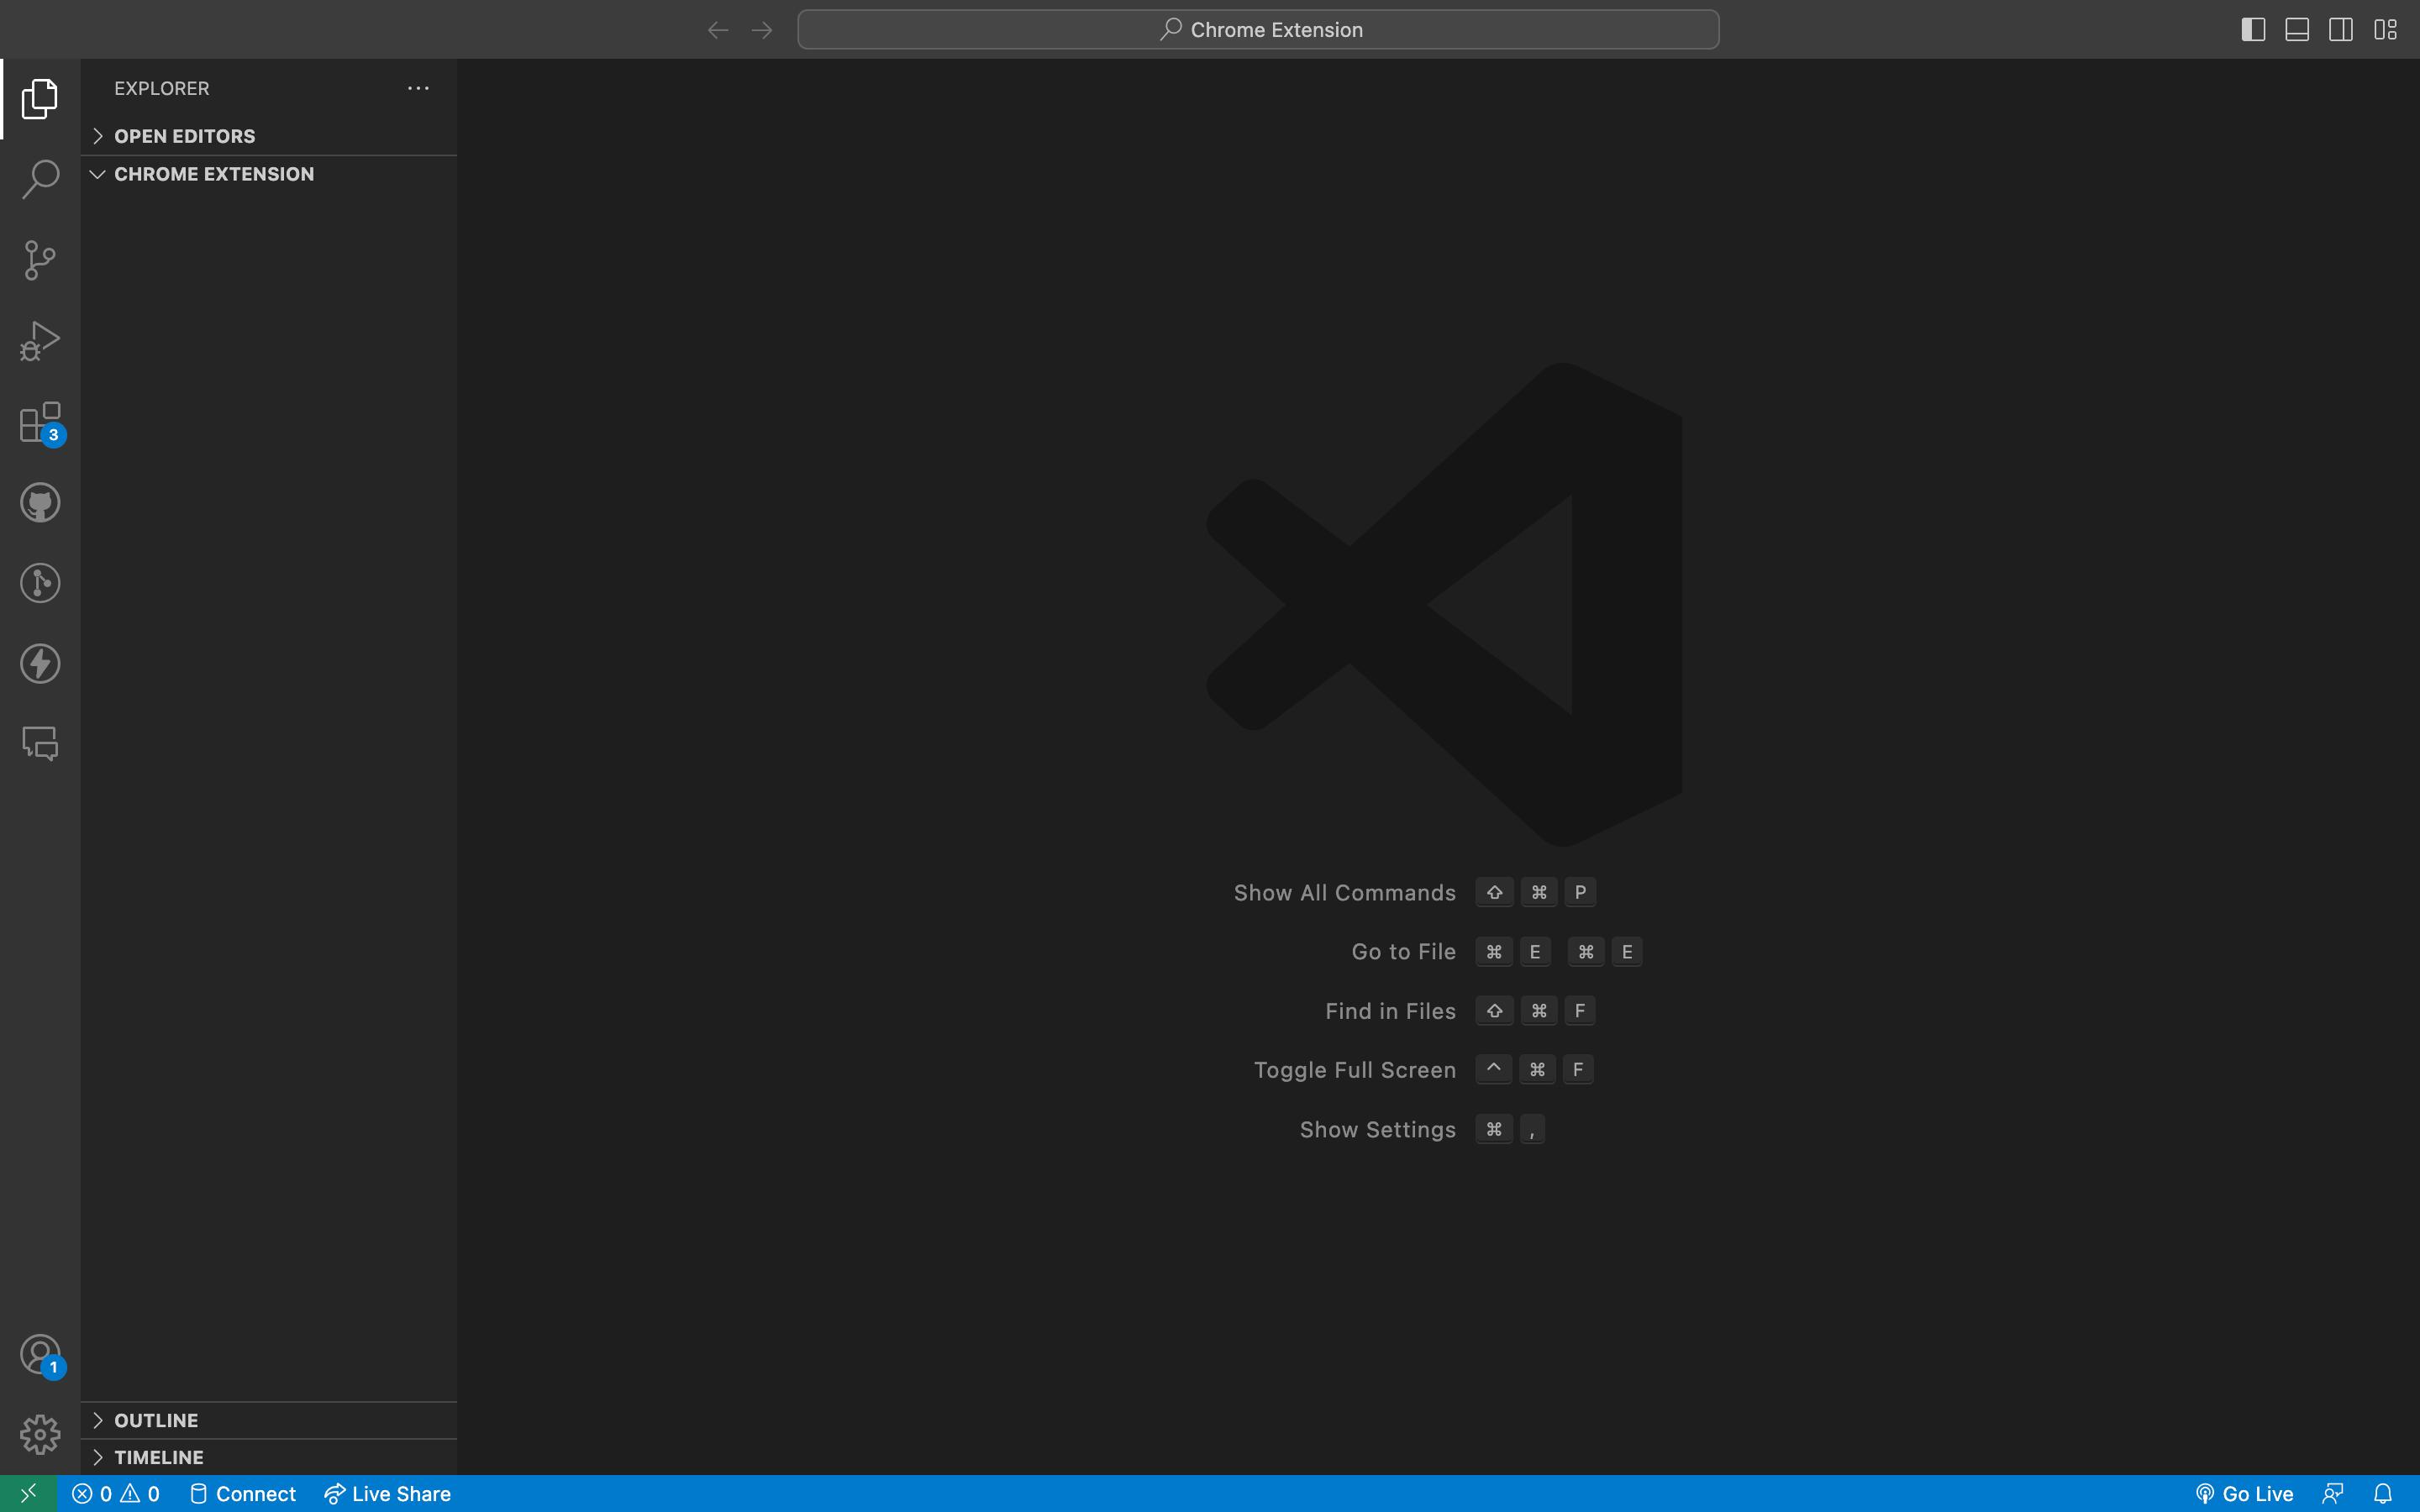
After opening the newly created directory, you will see a welcome screen like this.
Now, right-click on the folder structure and click on Create a new file.
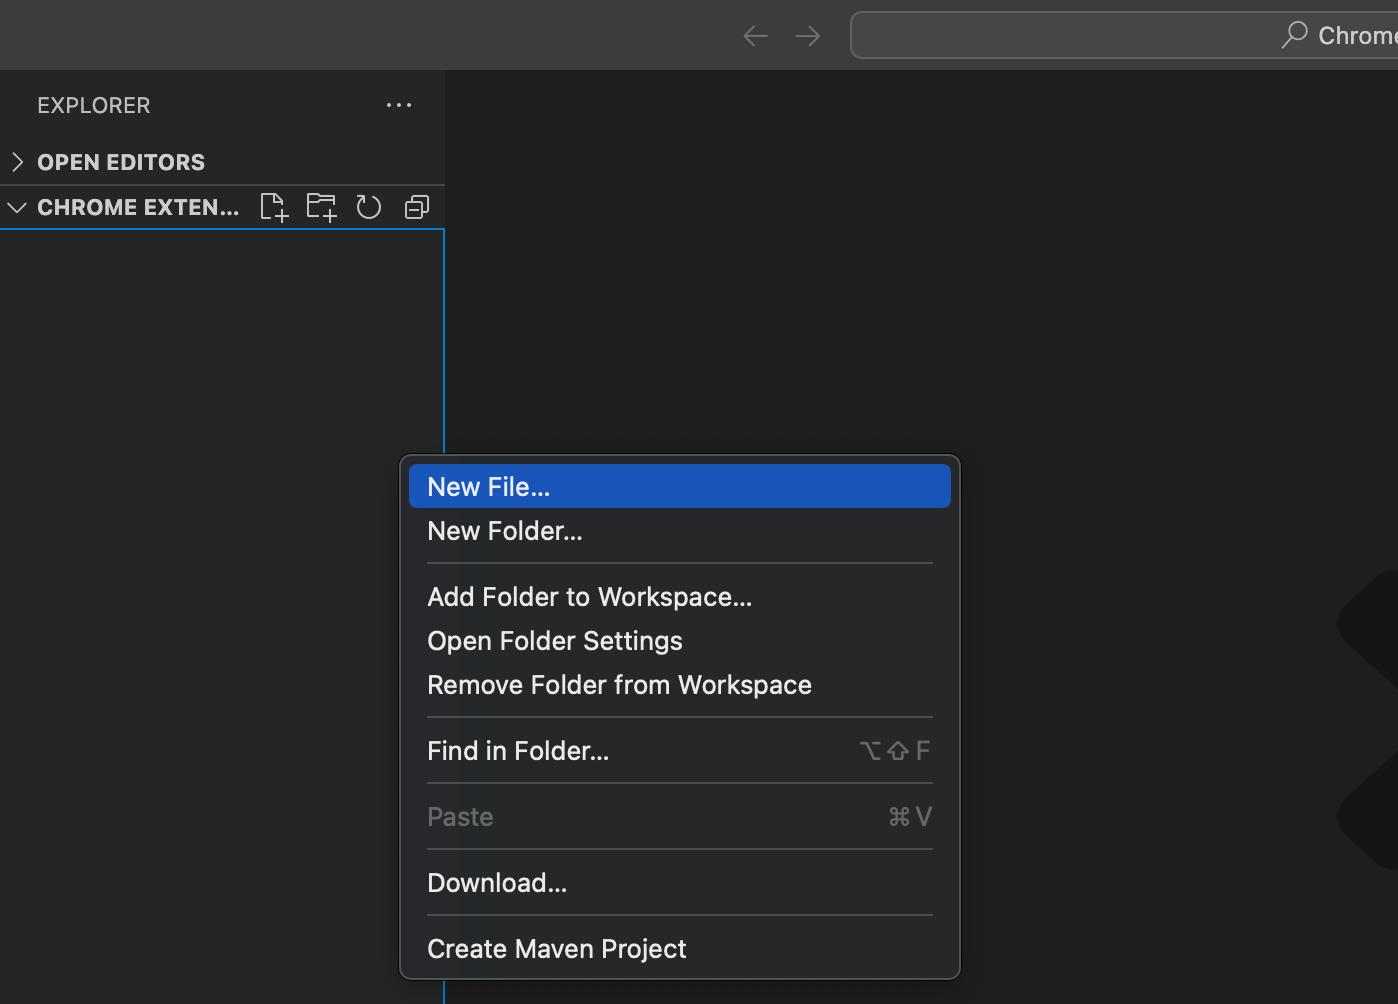
Enter a file name and save the file as manifest.json.
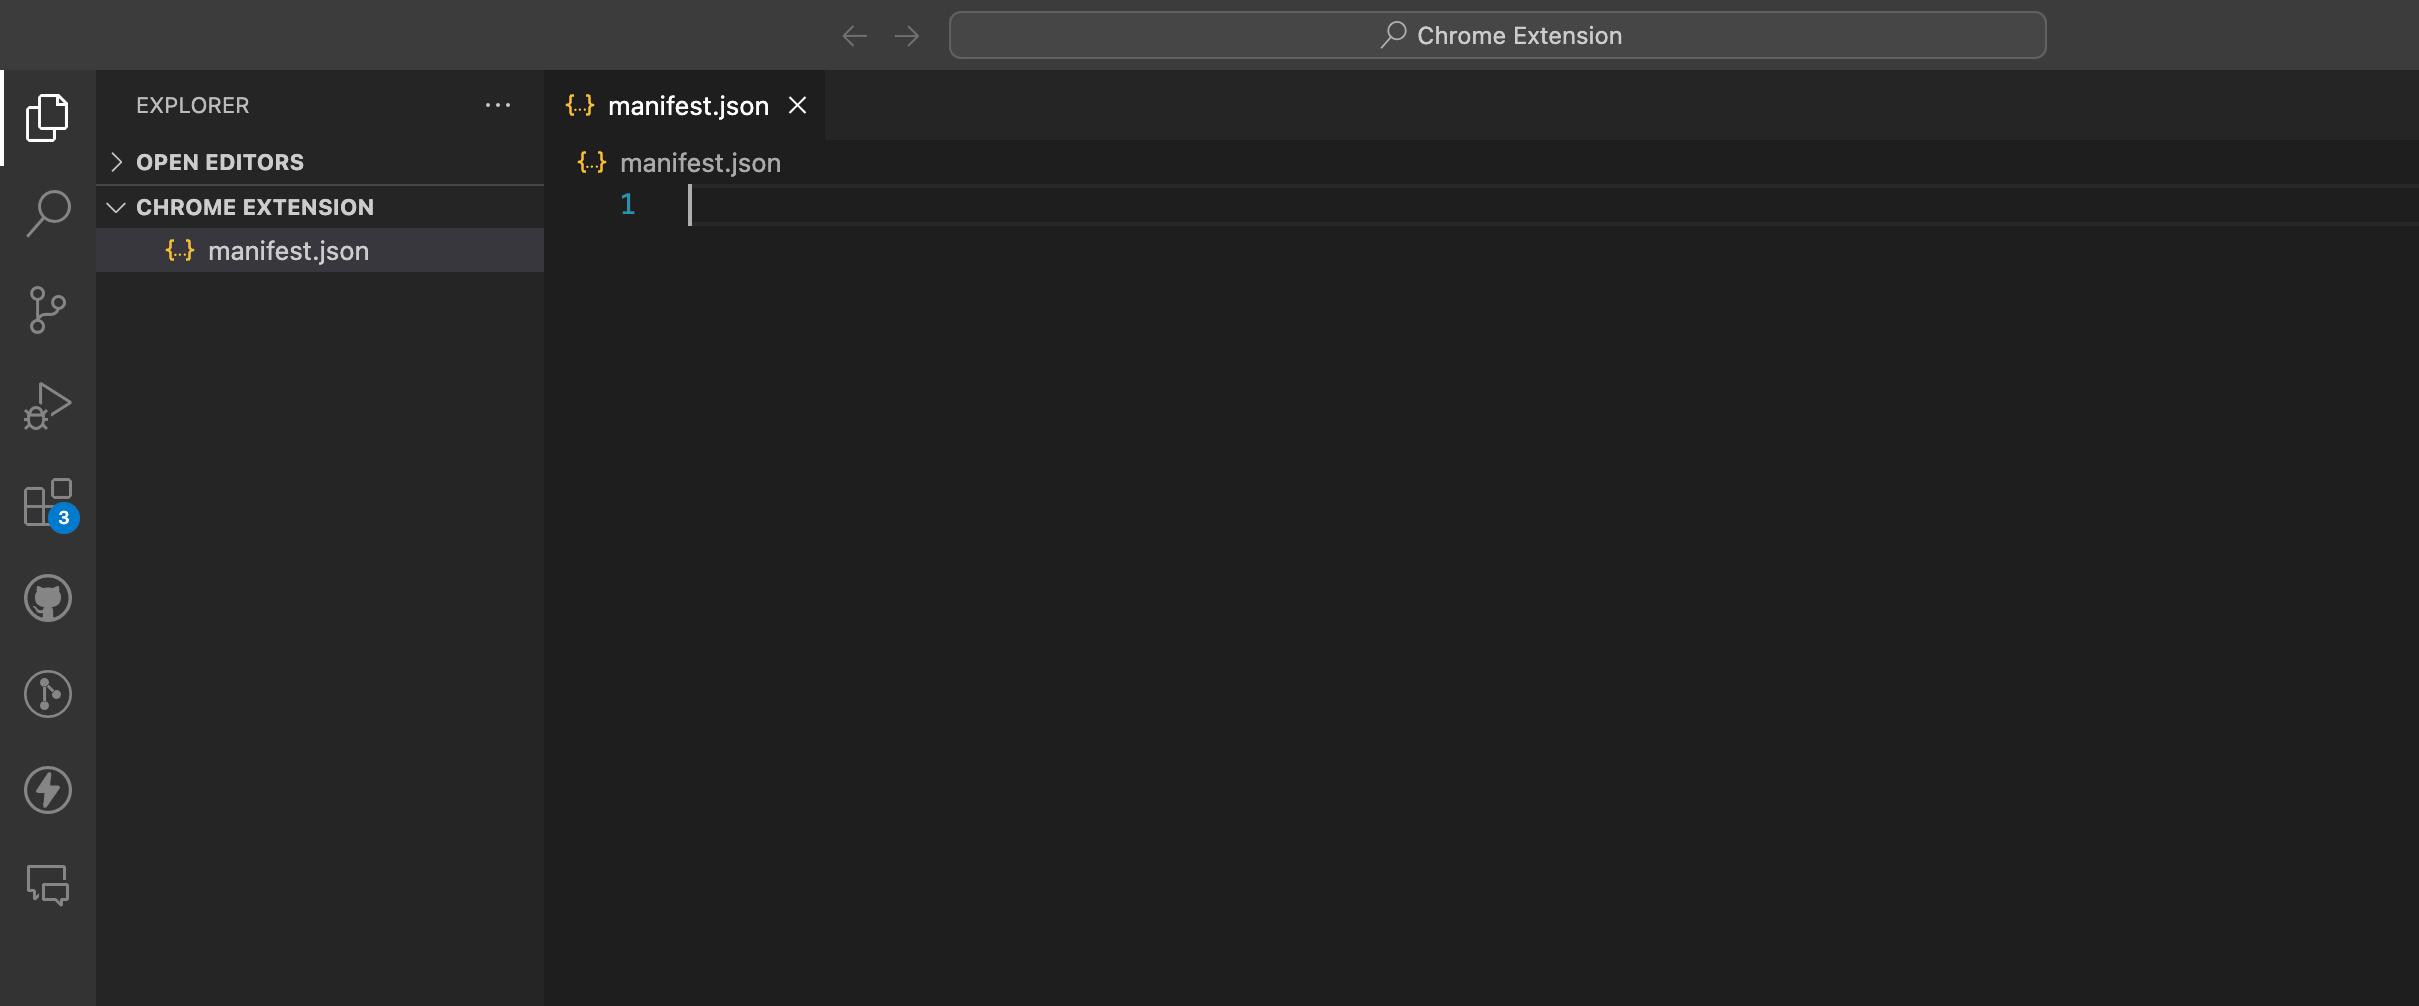
Add the following code to our manifest.json file.
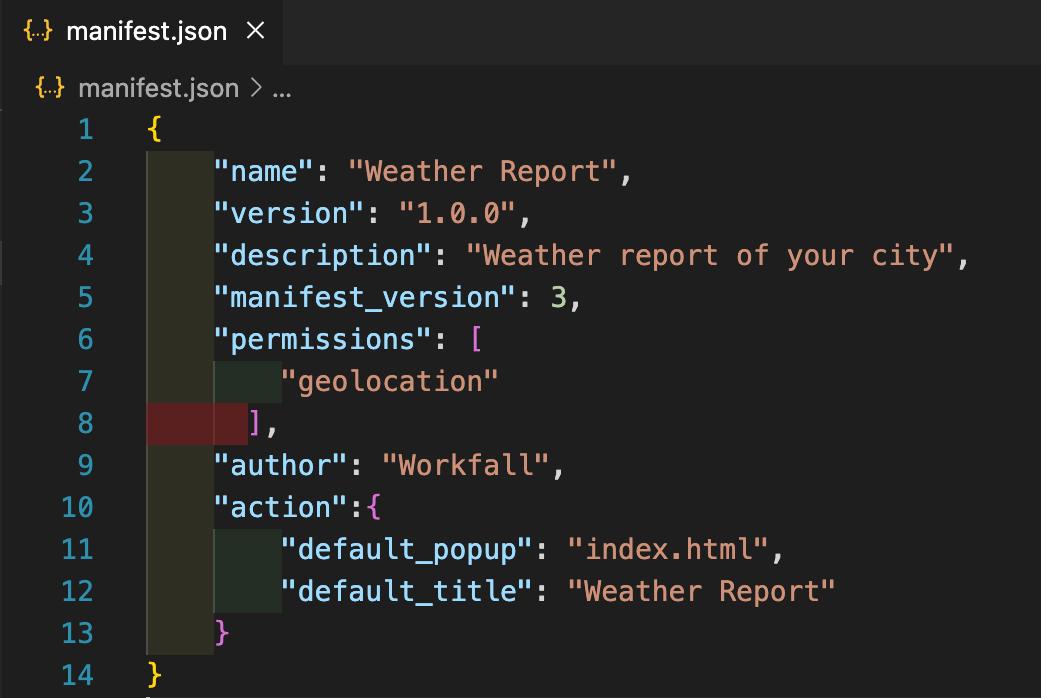
Our manifest.json file holds important information like the extension’s name, version, description, permissions, and author. It also has a field called ‘action’ that’s like a special instruction.
This ‘action’ field has something called ‘default_popup,’ which tells the extension to show a specific webpage when clicked. In our case, it’s set to ‘index.html‘, which means when our extension is clicked, it will open up a page called ‘index.html‘.
You can have a look here to see all configurations of a manifest.json file.
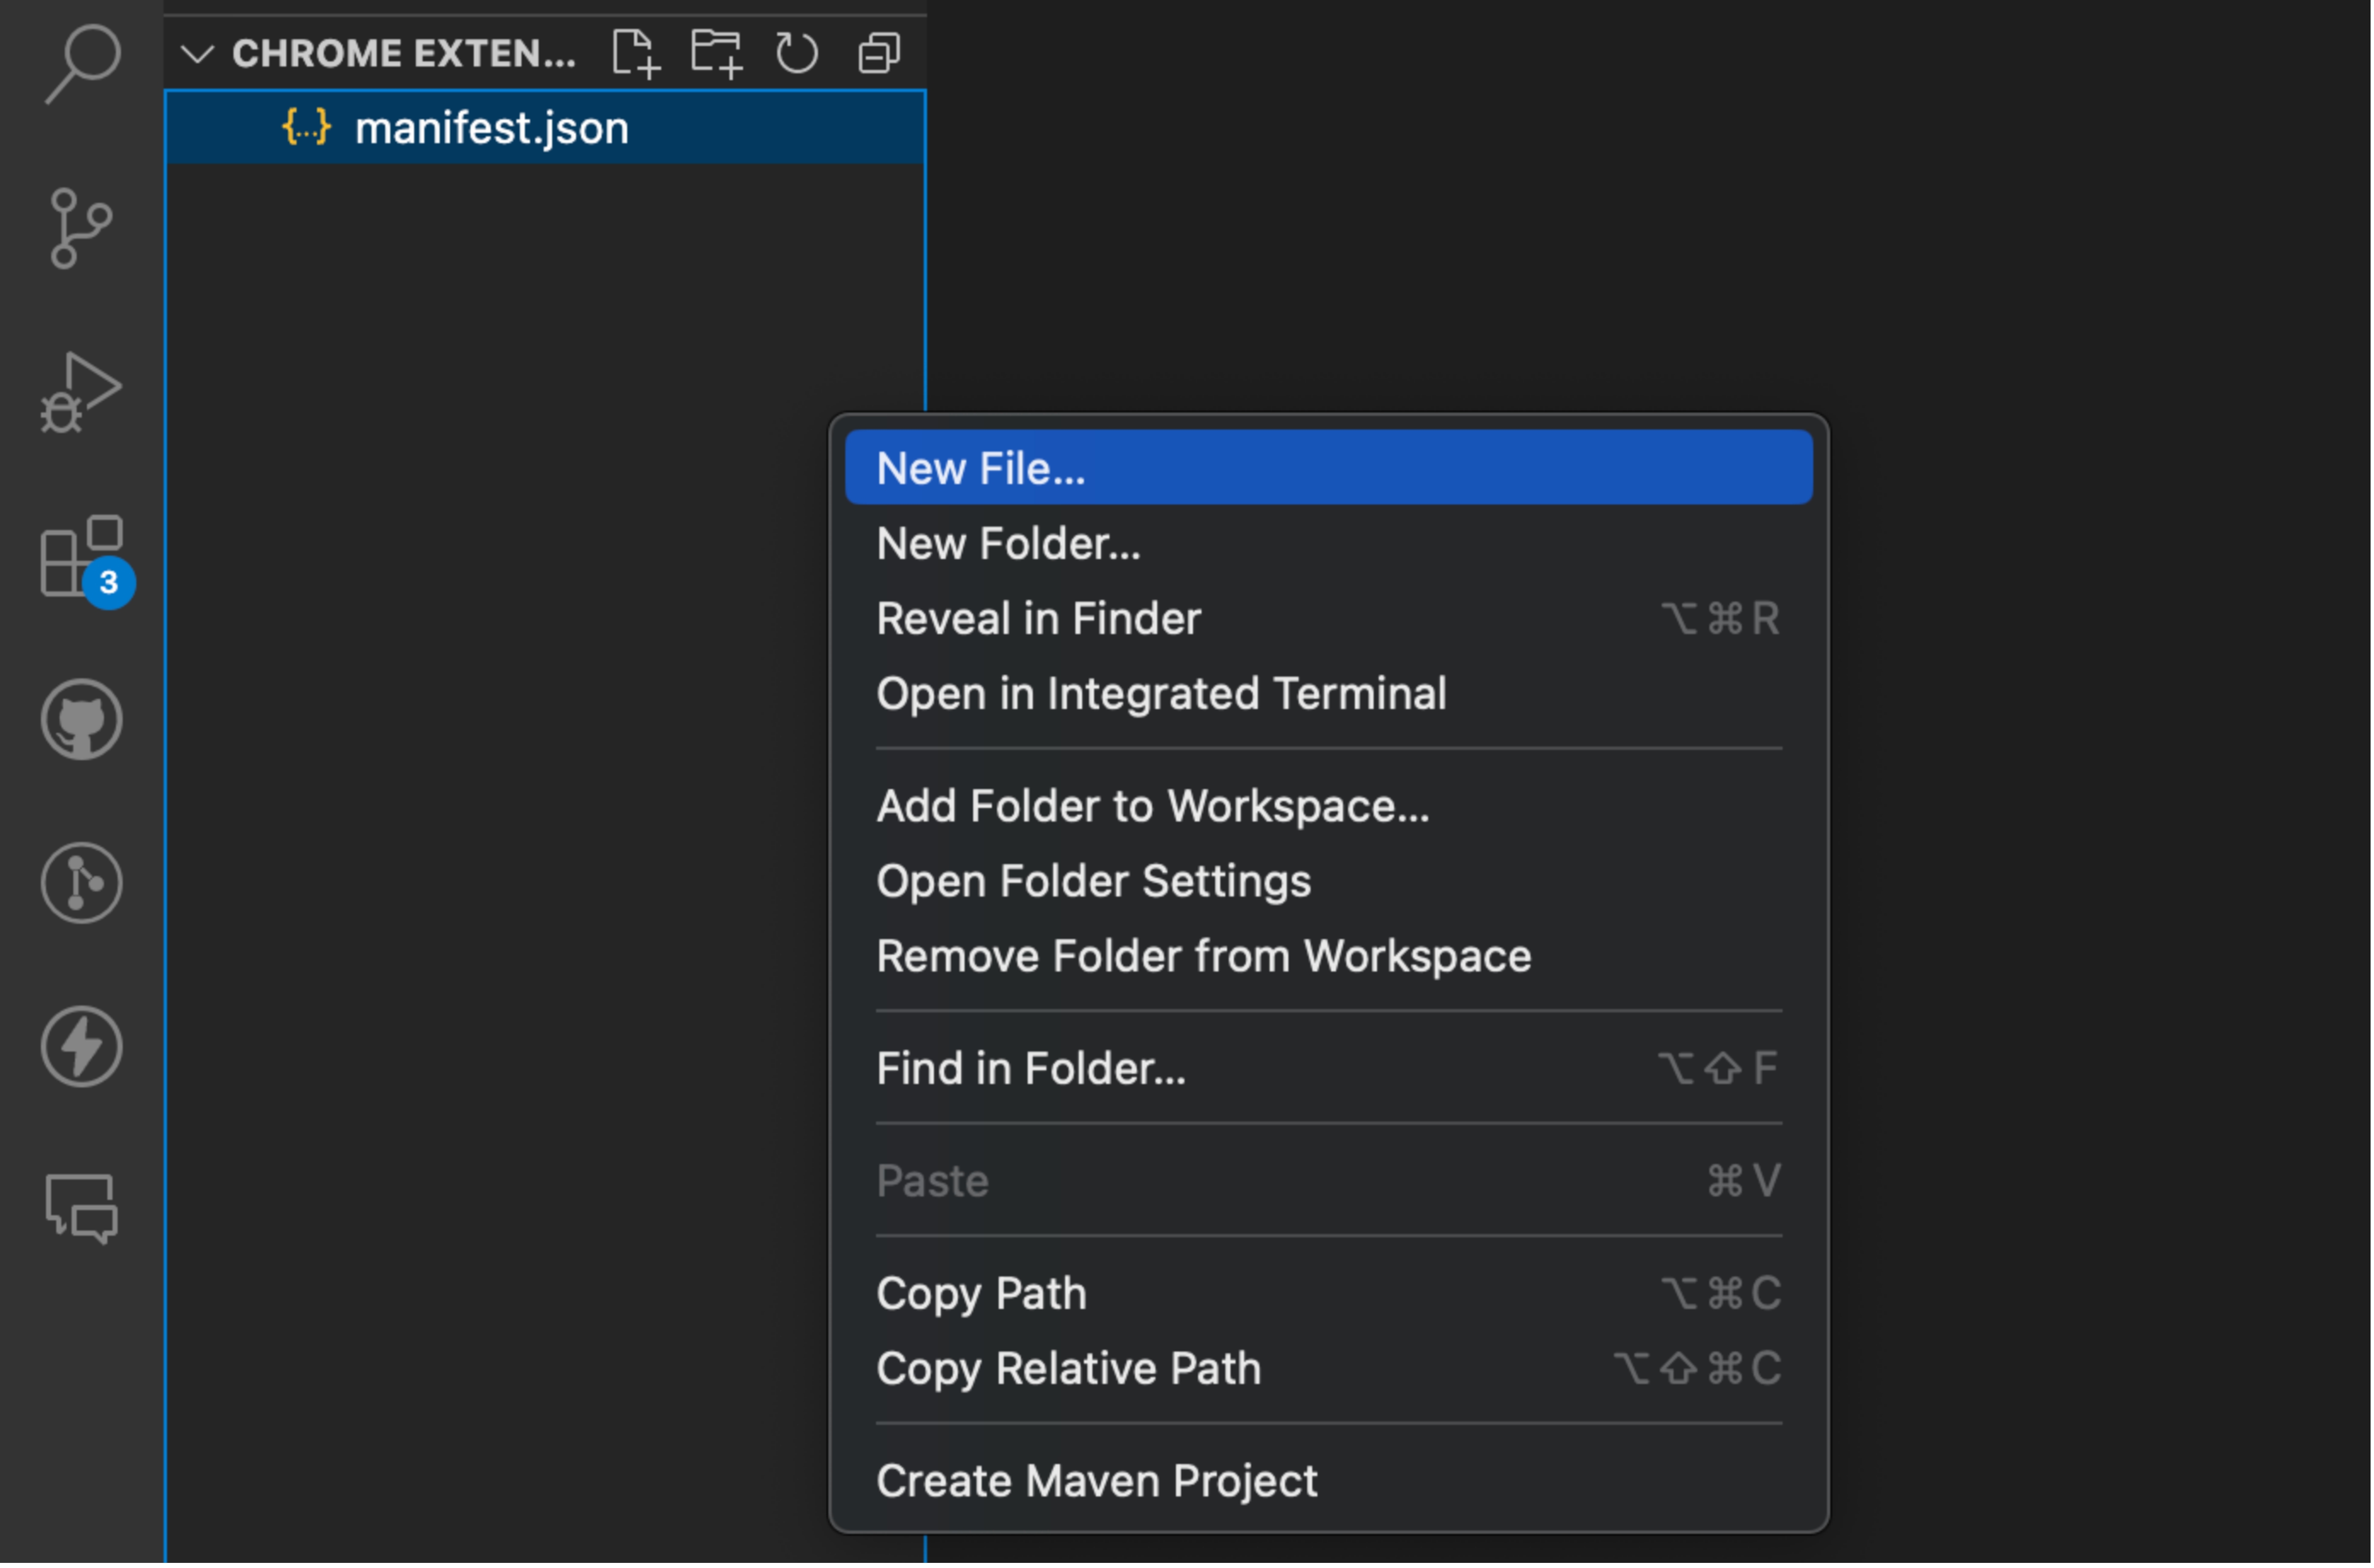
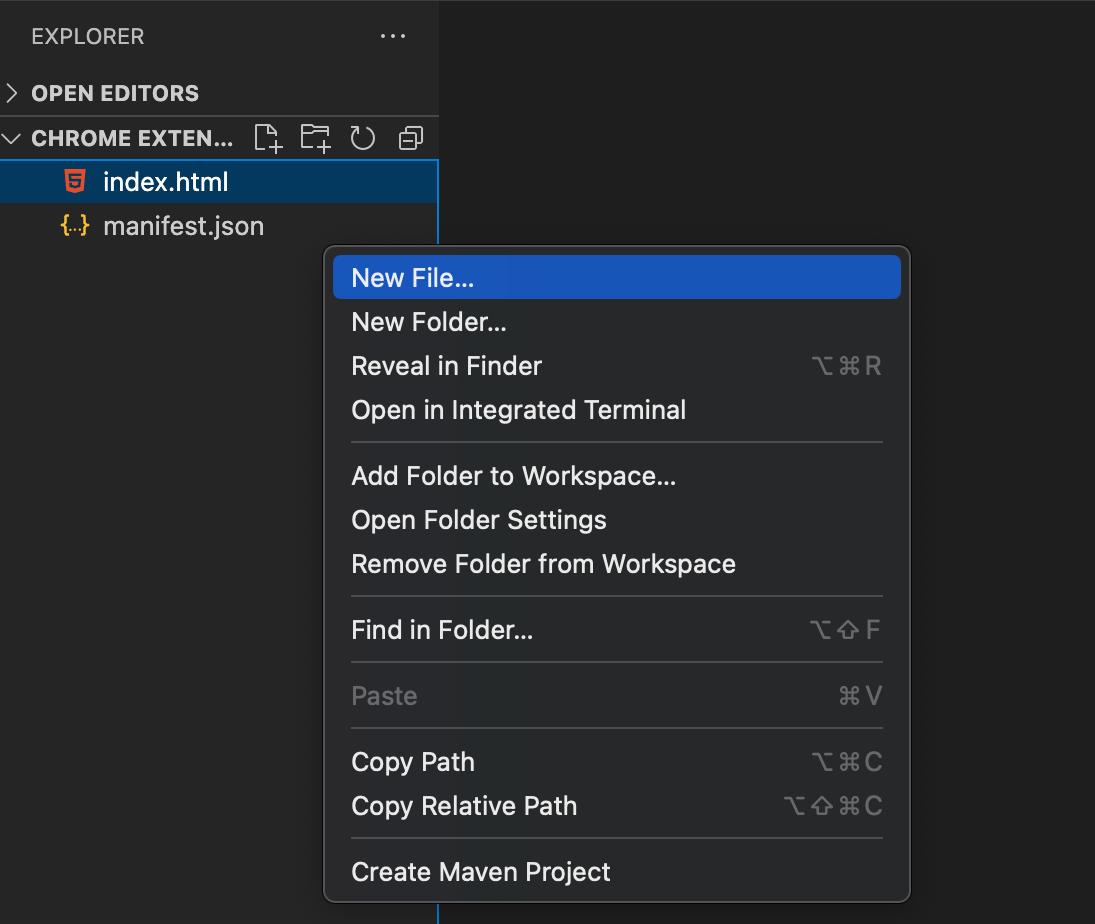
Let’s create the index.html file. Right-click on the folder structure and click on the new file.
Enter a file name and save the file as index.html.
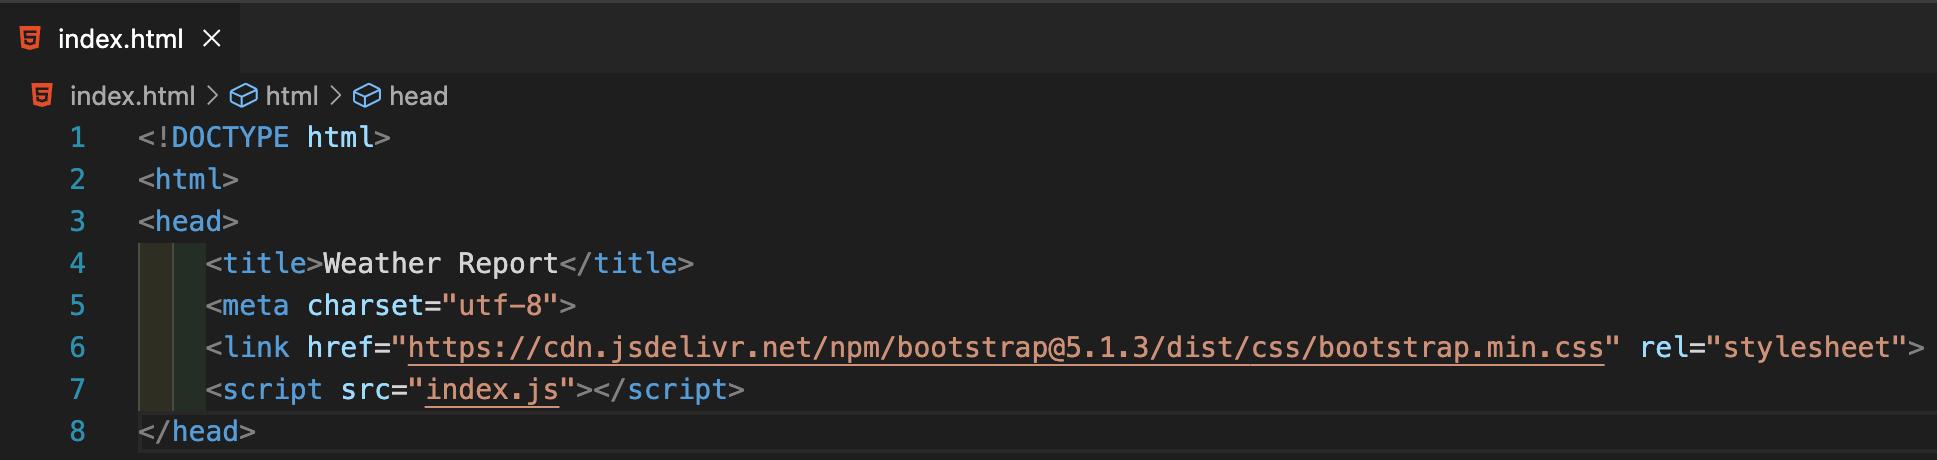
Add this boilerplate code to the index.html file.
We’ll be showing weather information in our google chrome extension, for doing so, first, we have to get the weather data. For that, we’ll make use of OpenWeather API. It is free for a few requests per day and does not require credit card details.
Let’s go to the OpenWeather website and sign up to get the API key.
After filling in all the required details and clicking on the Sign-Up button, you will receive a confirmation email to your registered email address. Click on the “Verify your email” button.
After email verification is done, you will be redirected to this page as shown in the image below. Enter your email and password to sign in to OpenWeather.
After signing in, you will see the home page of OpenWeather API as shown in the image below. Click on API Keys.

Save the API key by copying it and keeping it in a safe place. We’ll need it in the future when we’re ready to use it for making API calls to get weather data.
With the API key in hand, we’re all set to proceed. Our next step involves writing code to create the user interface (UI) for our extension. This UI will be responsible for displaying the weather data in a user-friendly manner.
Next, we’ll include a link to the Bootstrap CDN within the head tag. By utilizing the Bootstrap framework, we will save ourselves from writing additional CSS code in this illustration.

Add the below code inside the body tag of the index.html file.
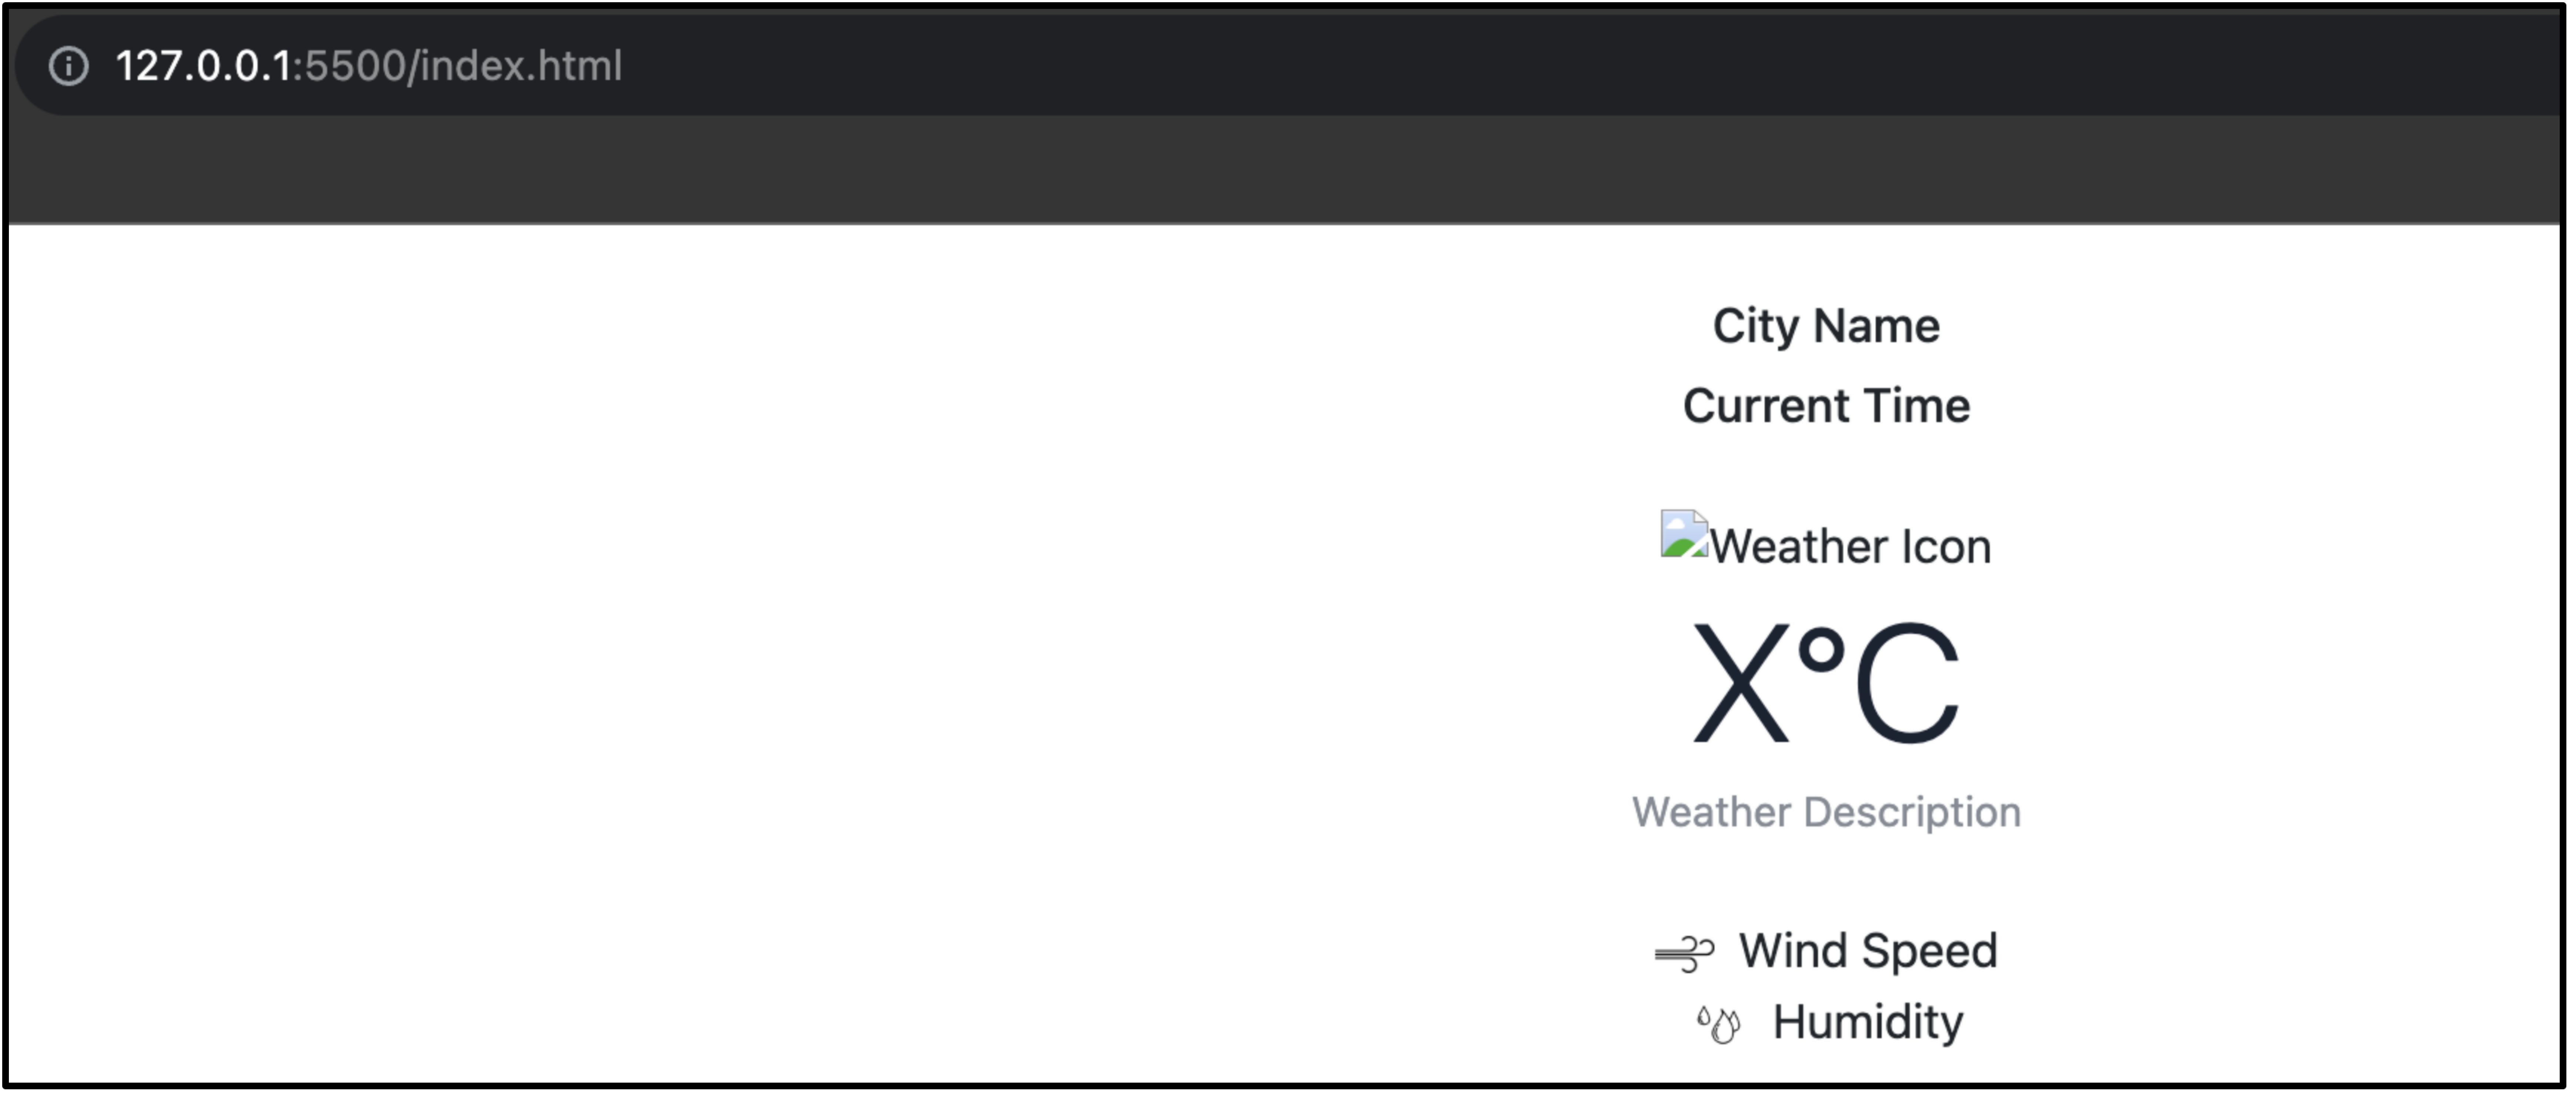
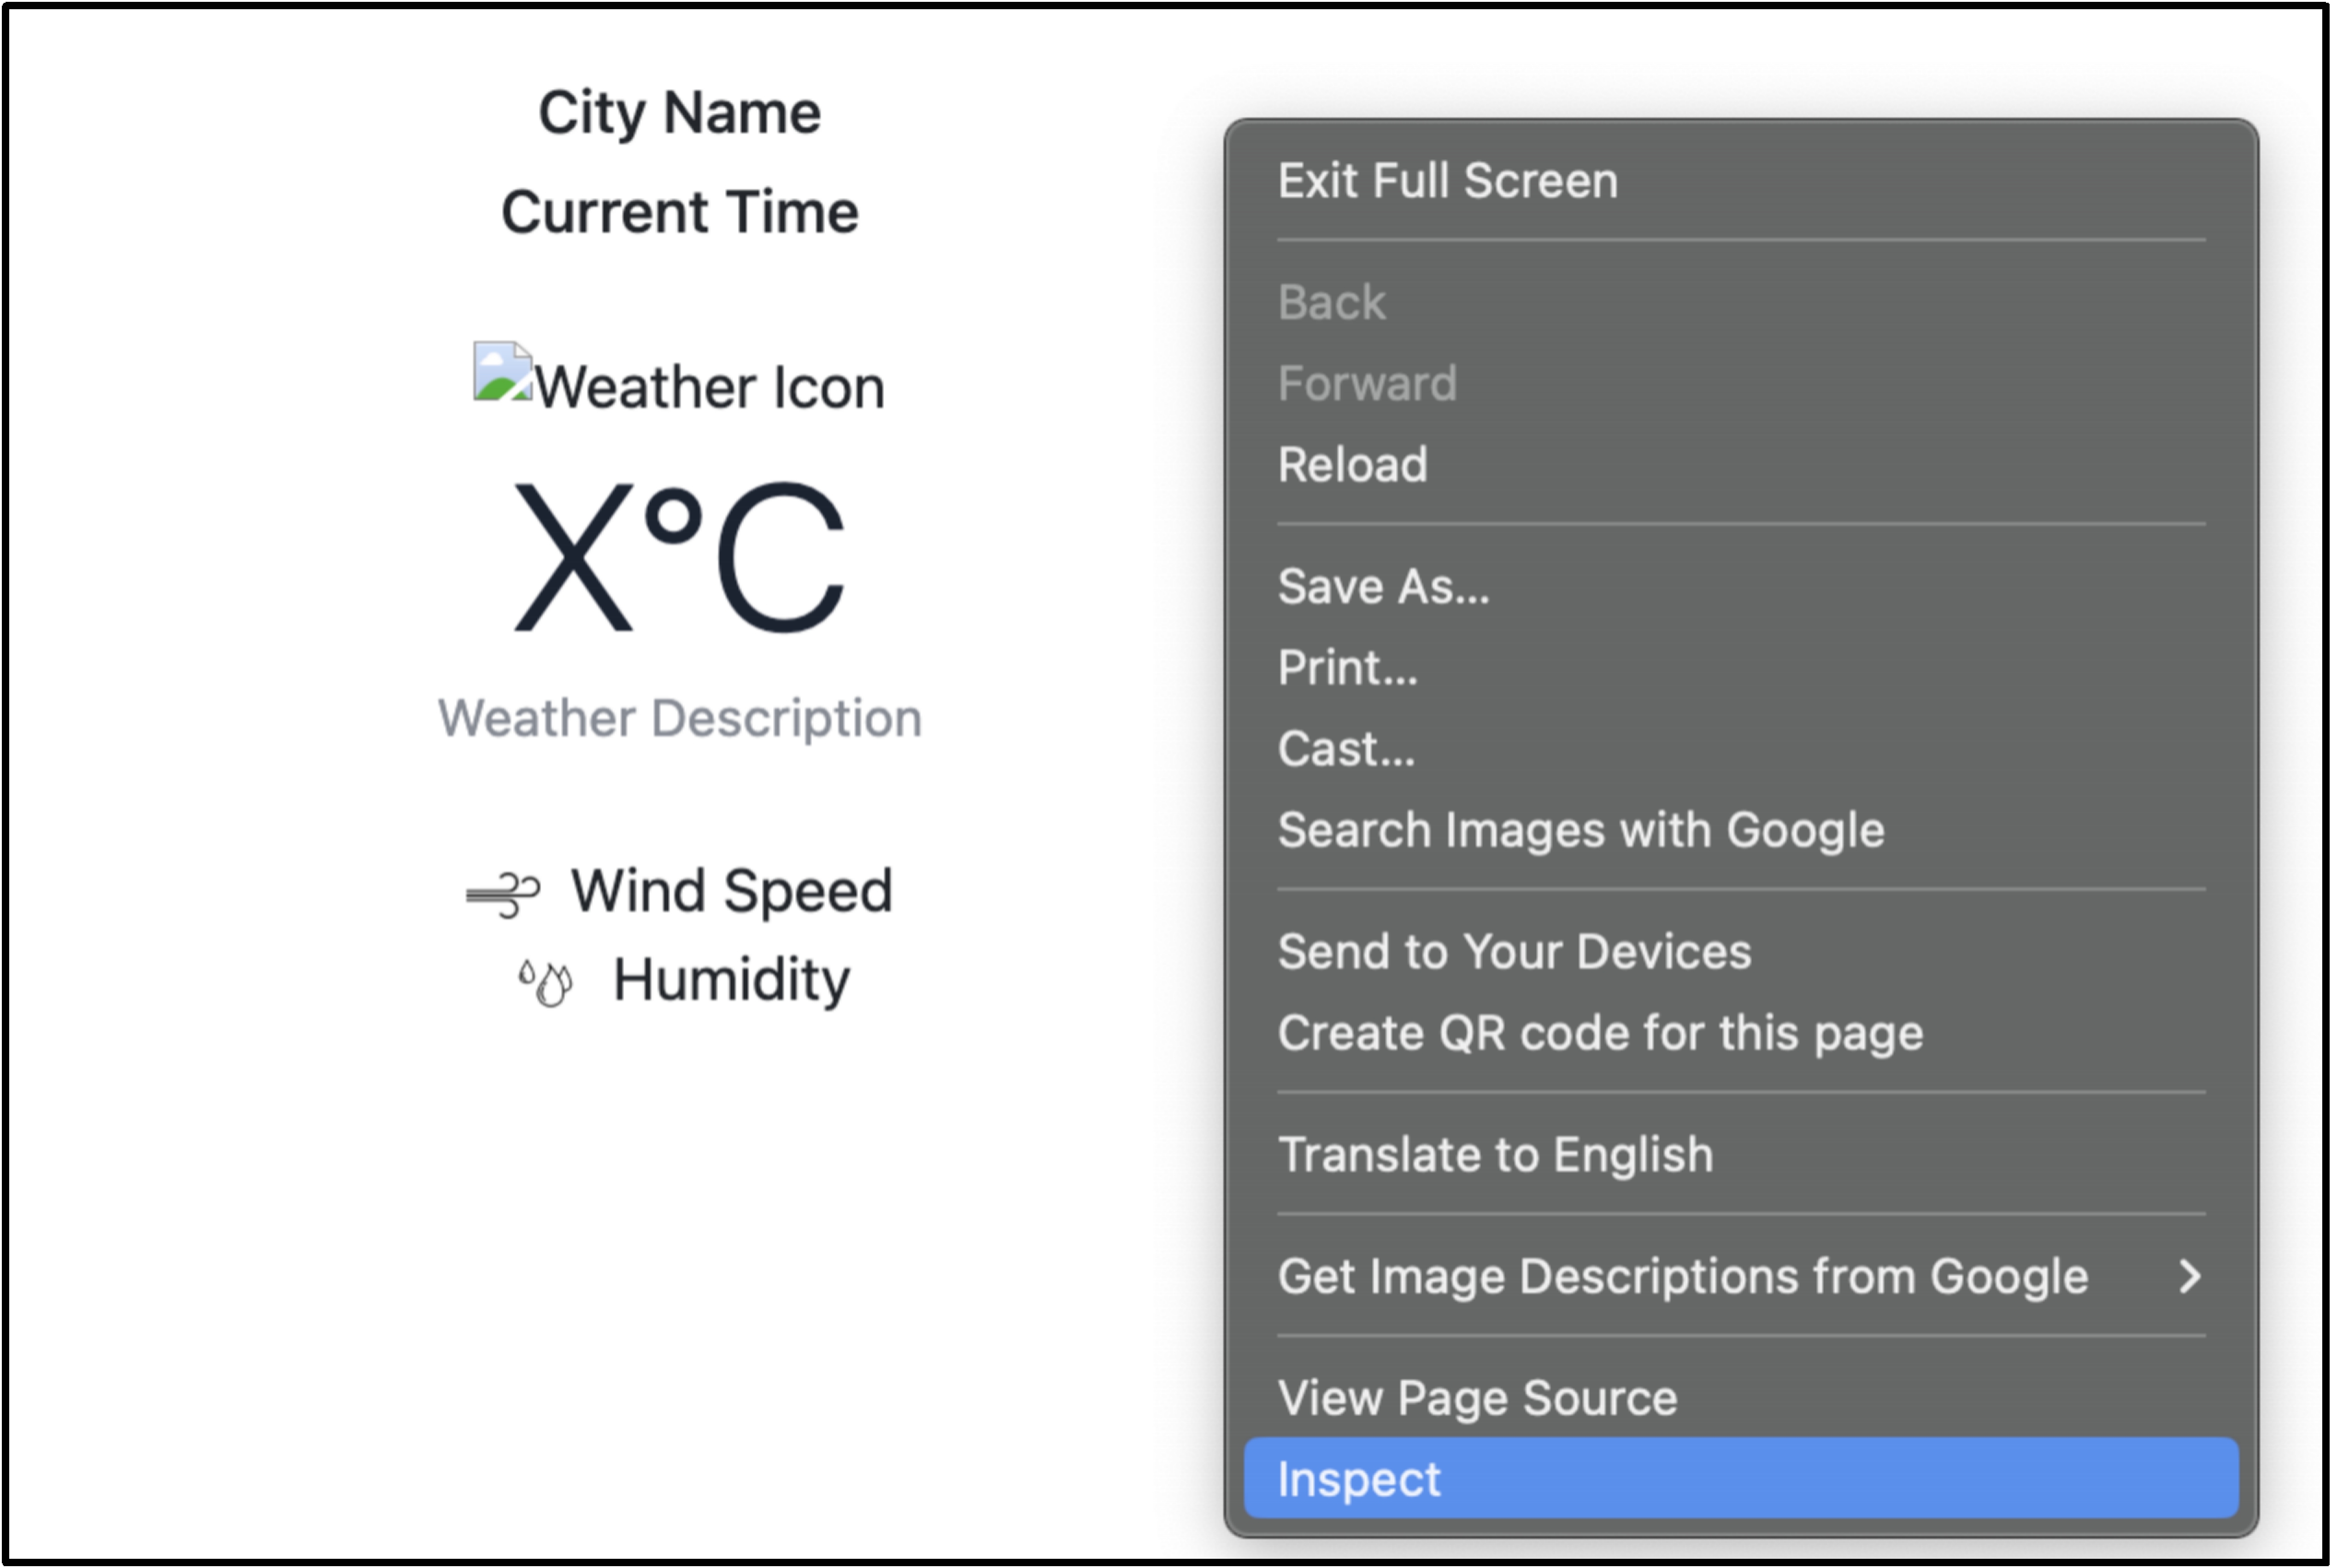
We have put some placeholders like “City Name”, “Current Time” etc in the code for now, we will replace them with actual data after fetching the data from the API.
Now, let’s open our file in the browser using the Live Server Extension.
Install the Live Server extension from VS Code extensions from the left side menu as shown in the image below.
After installation is done, open the index.html file and click on “Go Live” from the bottom right corner of the VS Code window as shown in the image below.

We’ll be able to see our UI on the browser as shown in the image below.
Next, we will gather the current location of the user and proceed to make an API call in order to retrieve the weather information for that particular location.
Right-click on the folder structure and click on Create a new file.
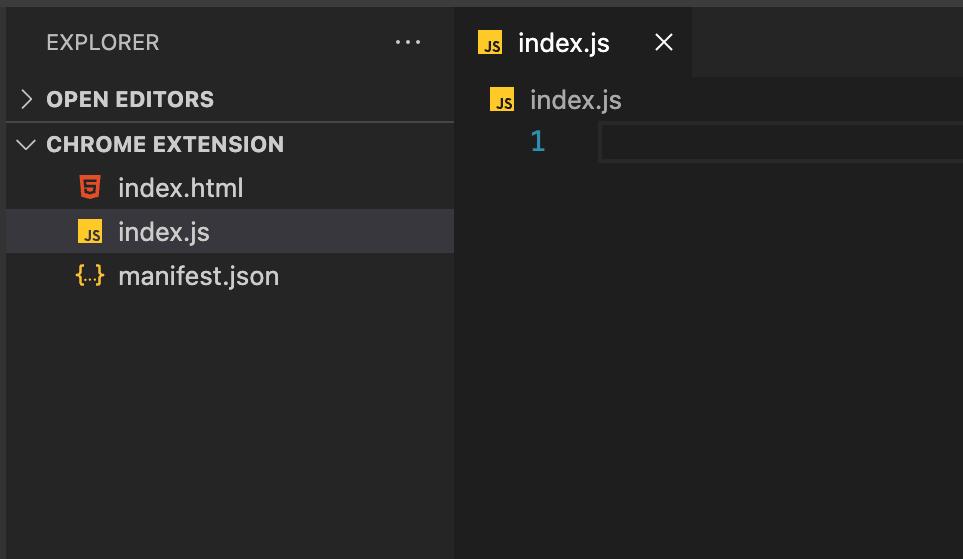
Enter a file name and save the file as index.js.
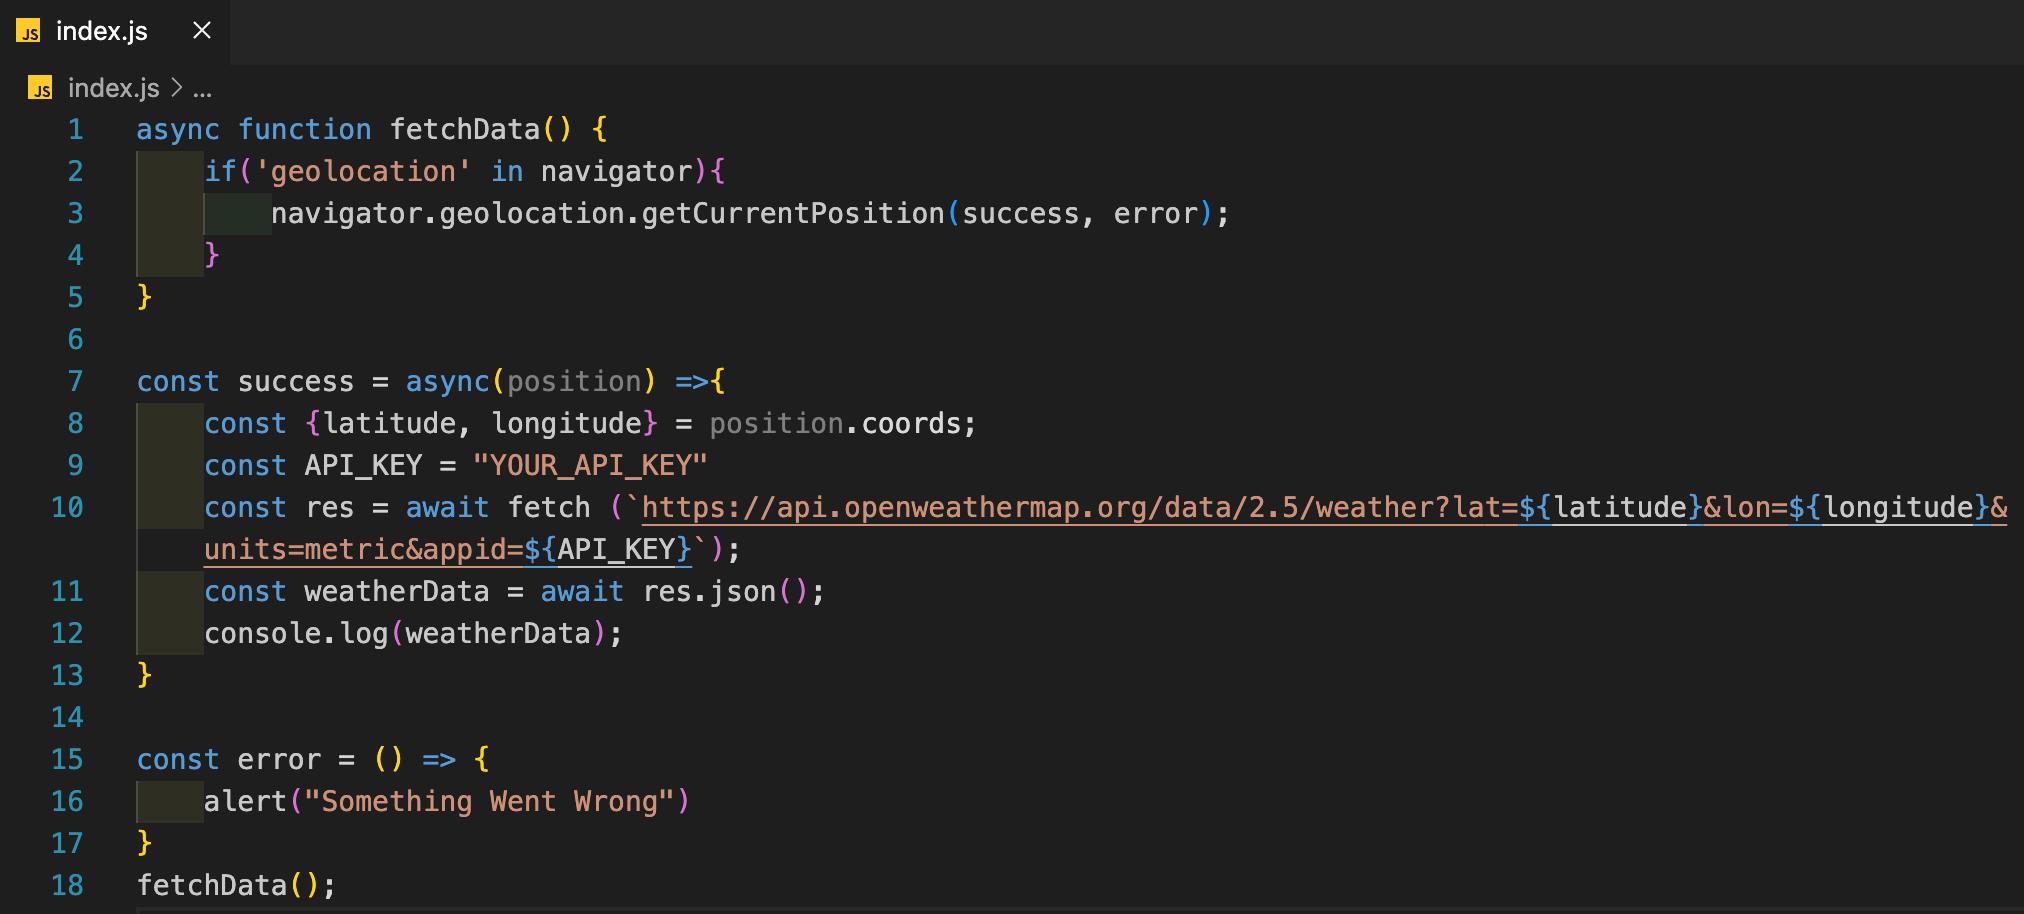
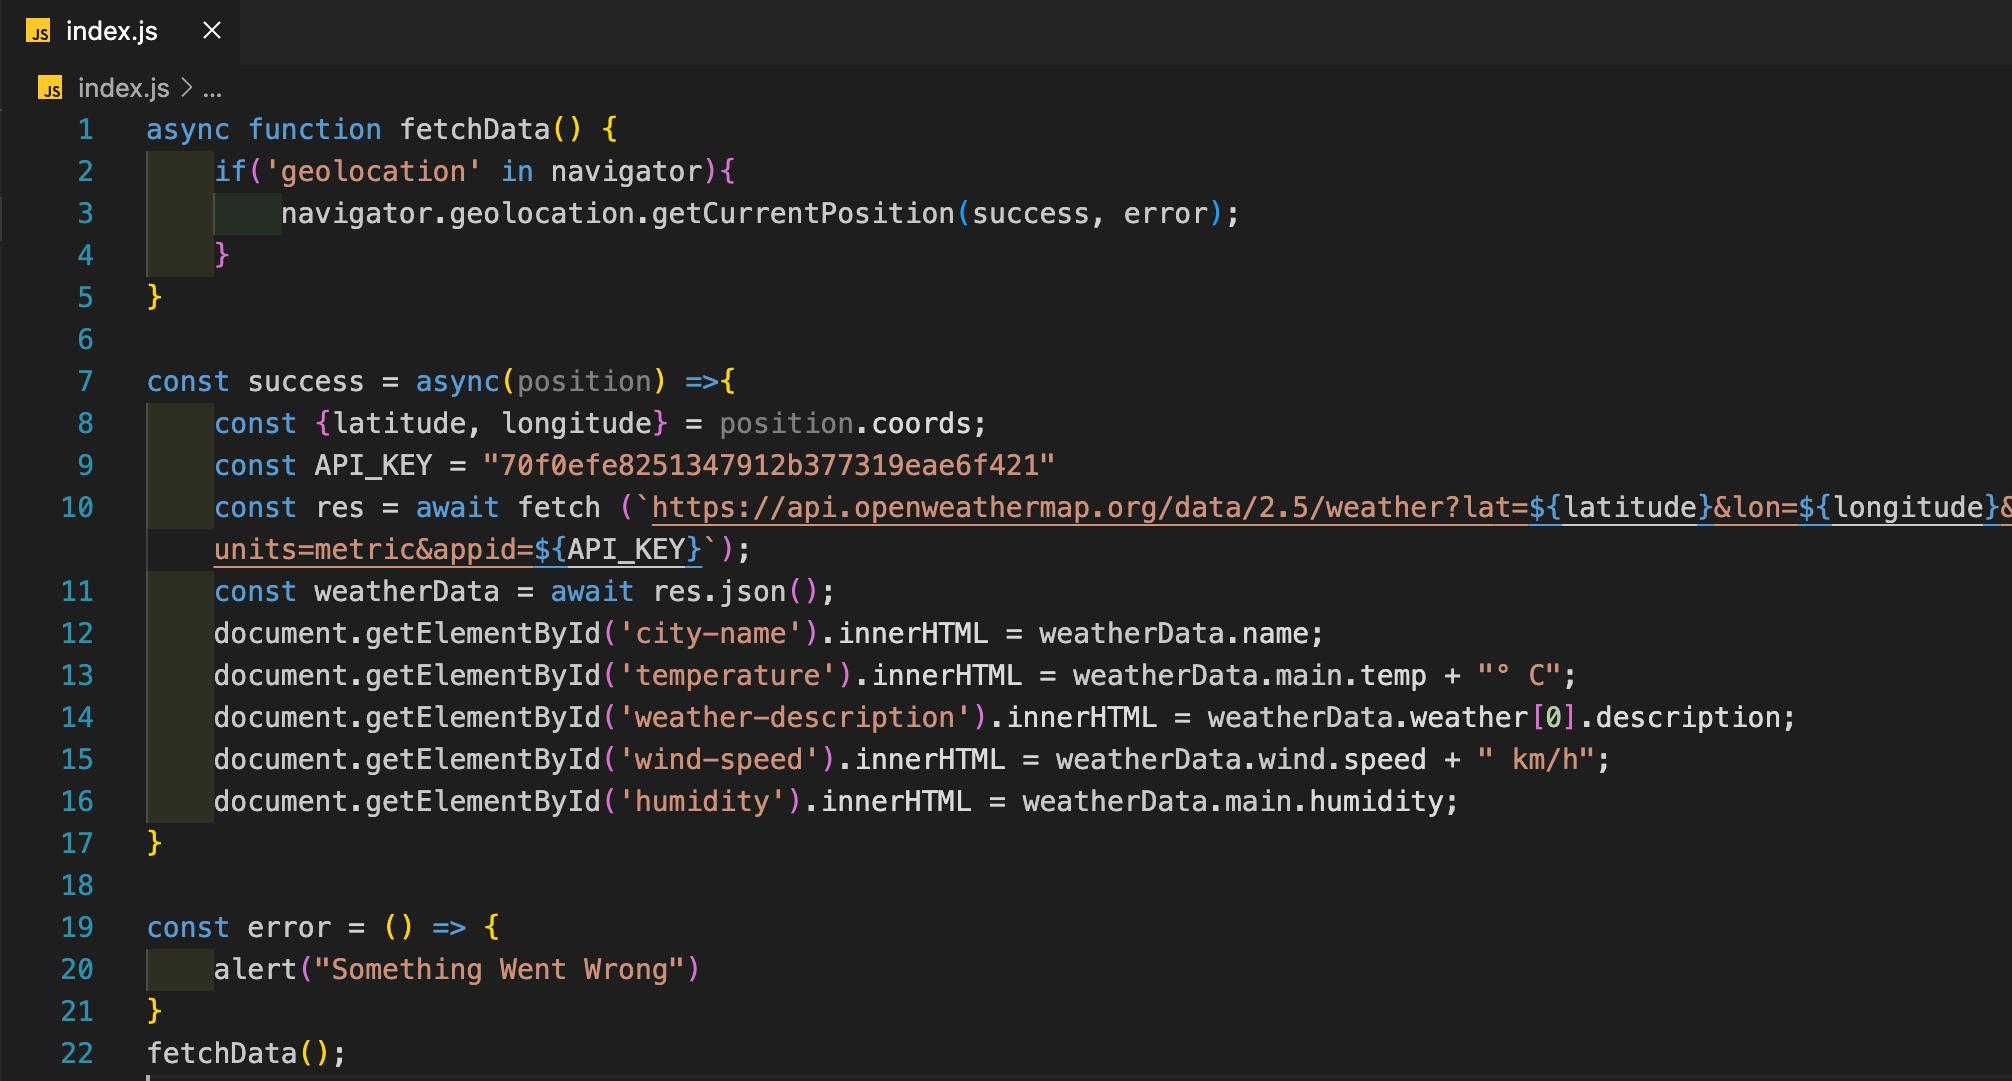
Include the provided code in the ‘index.js‘ file. Remember to substitute the ‘API_KEY’ variable with your own valid API key, which we learned how to obtain in the previous demonstration.
Link the Javascript file to our HTML code as shown in the image below.

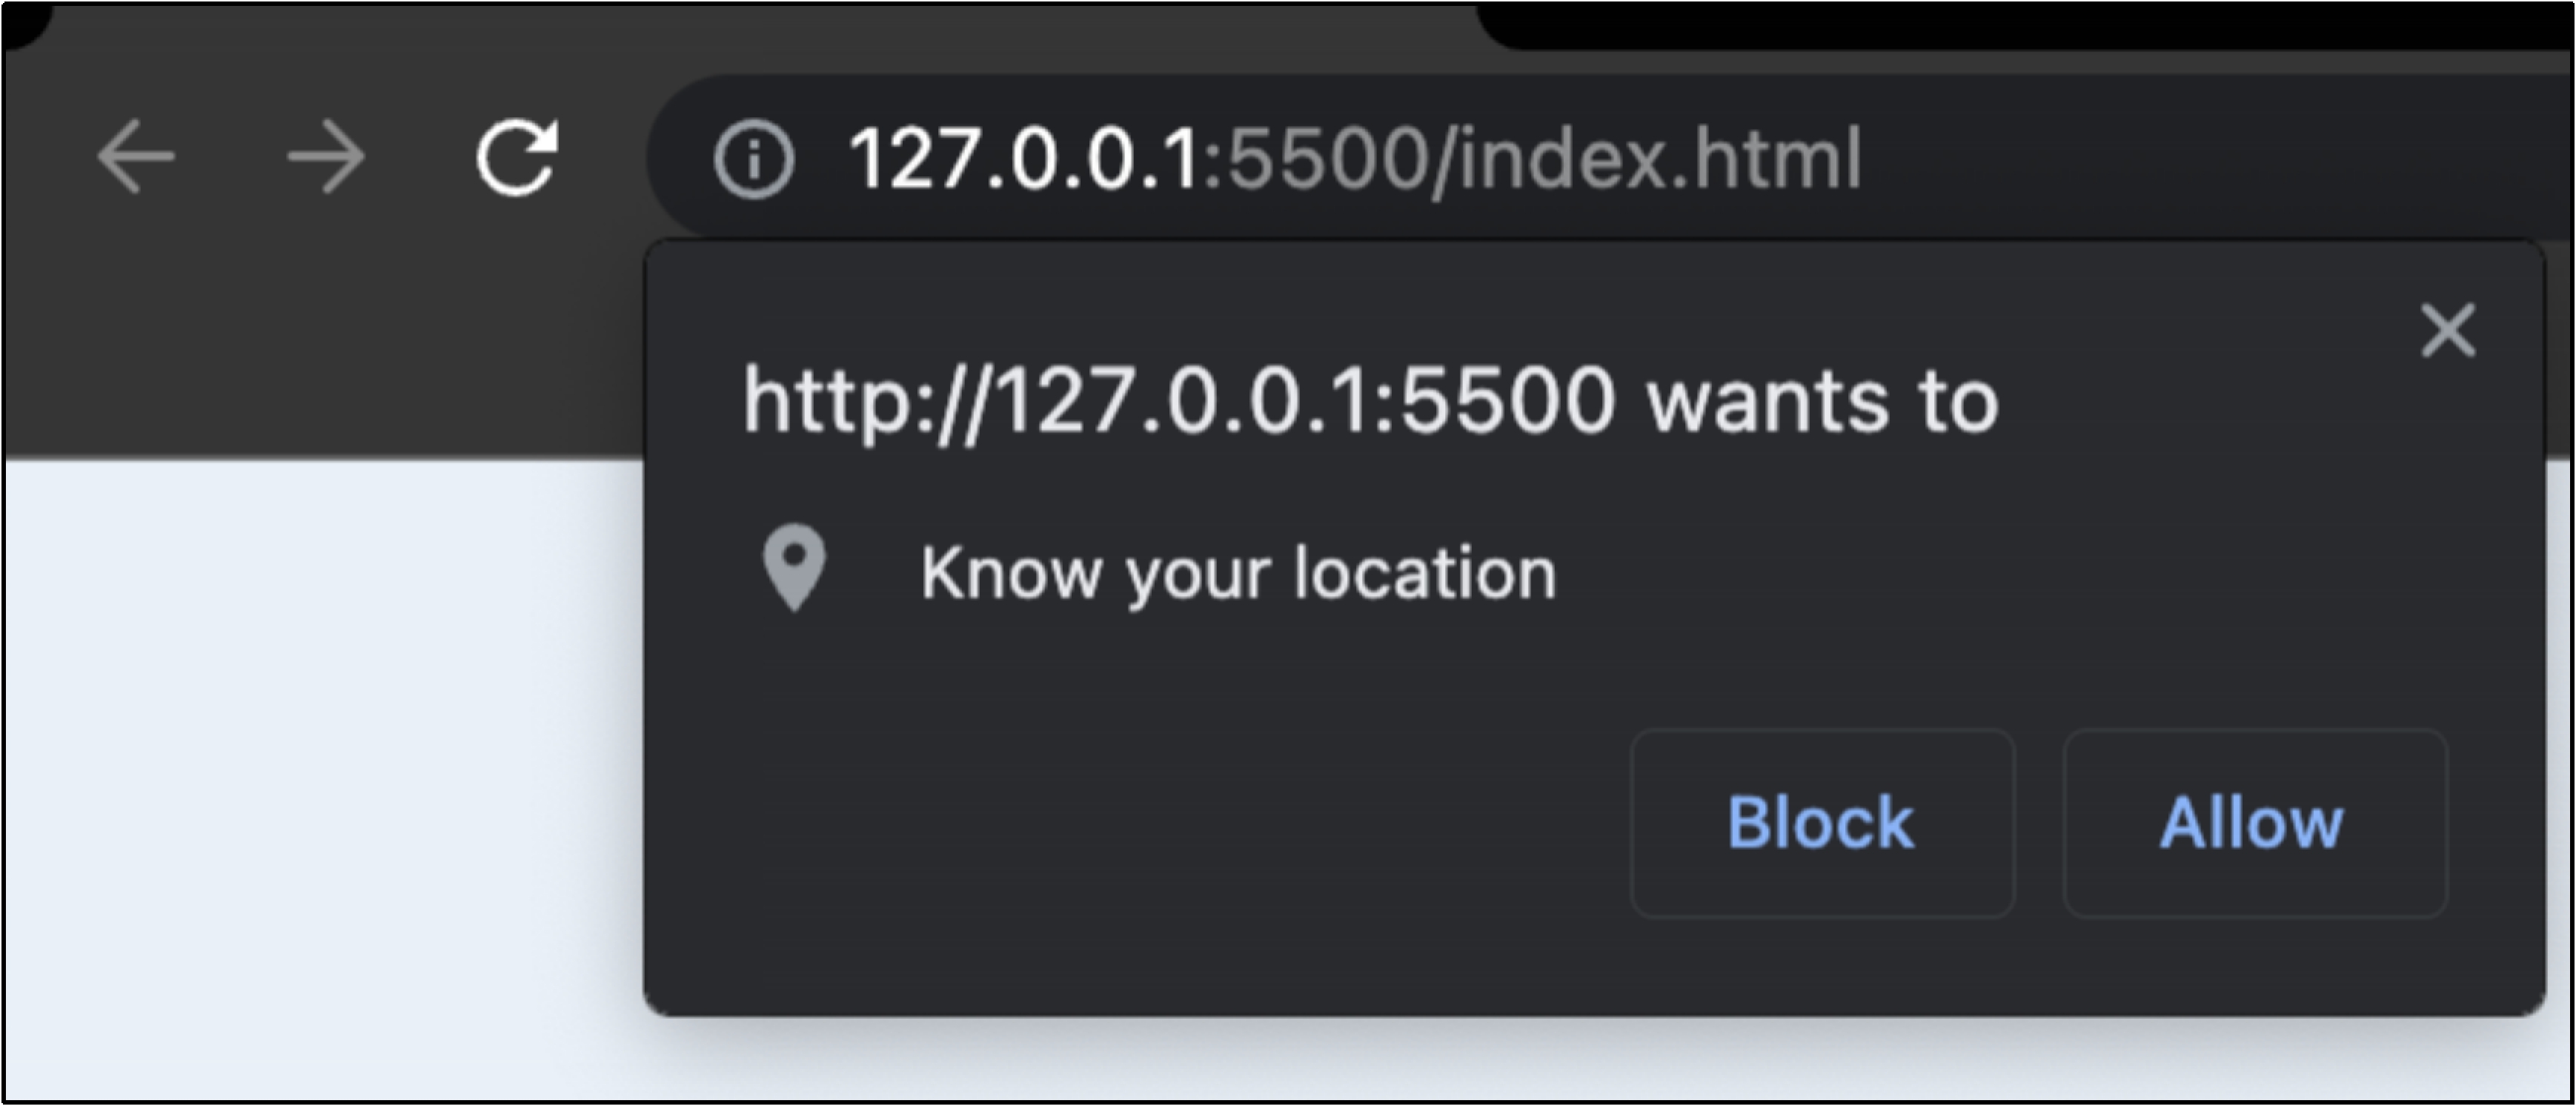
Now, let’s open the browser, we’ll be able to see a popup in the browser window asking for our location permission as shown in the image below, click on “Allow”.
Open the developer tools, then console by right-clicking anywhere on the browser and clicking on inspect as shown in the image below.
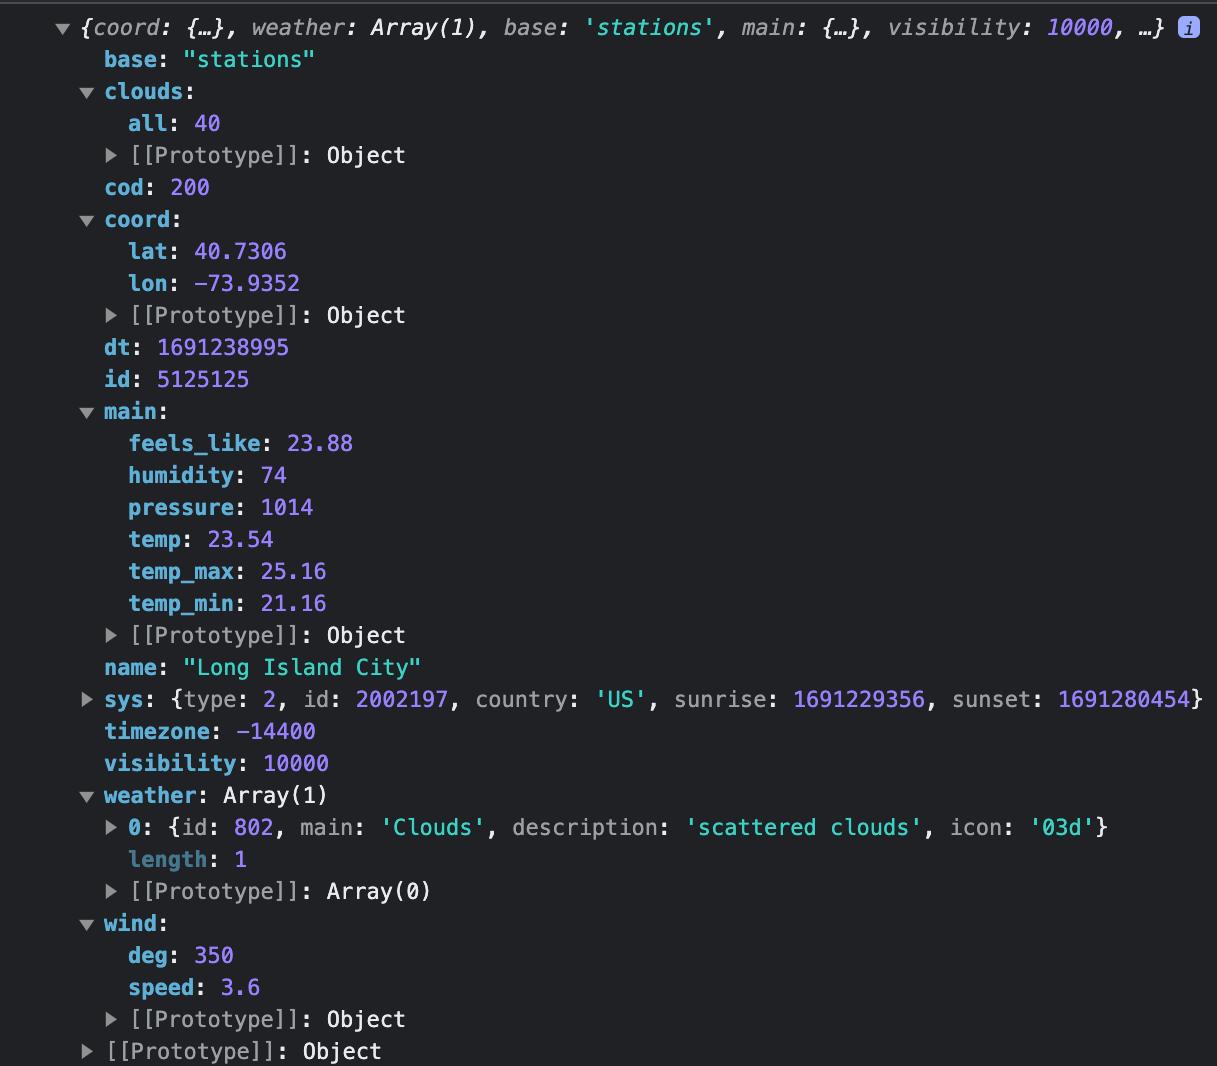
Once we access the browser console, we’ll see the weather data containing all the necessary information provided by the OpenWeather API.
Now that we have all the required data, we will now populate this data on our UI using the code as shown in the image below.
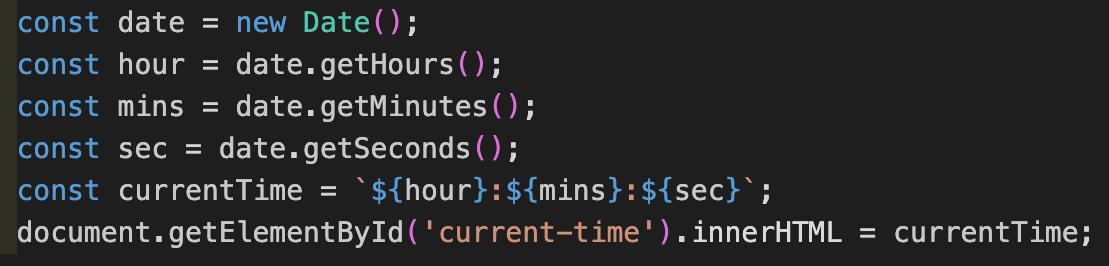
Open your web browser to view the updates on the user interface. Note that we haven’t addressed the current time and weather icon yet. Let’s tackle these elements step by step. To begin, insert the provided code into the success function. This code will add the current time to the user interface.
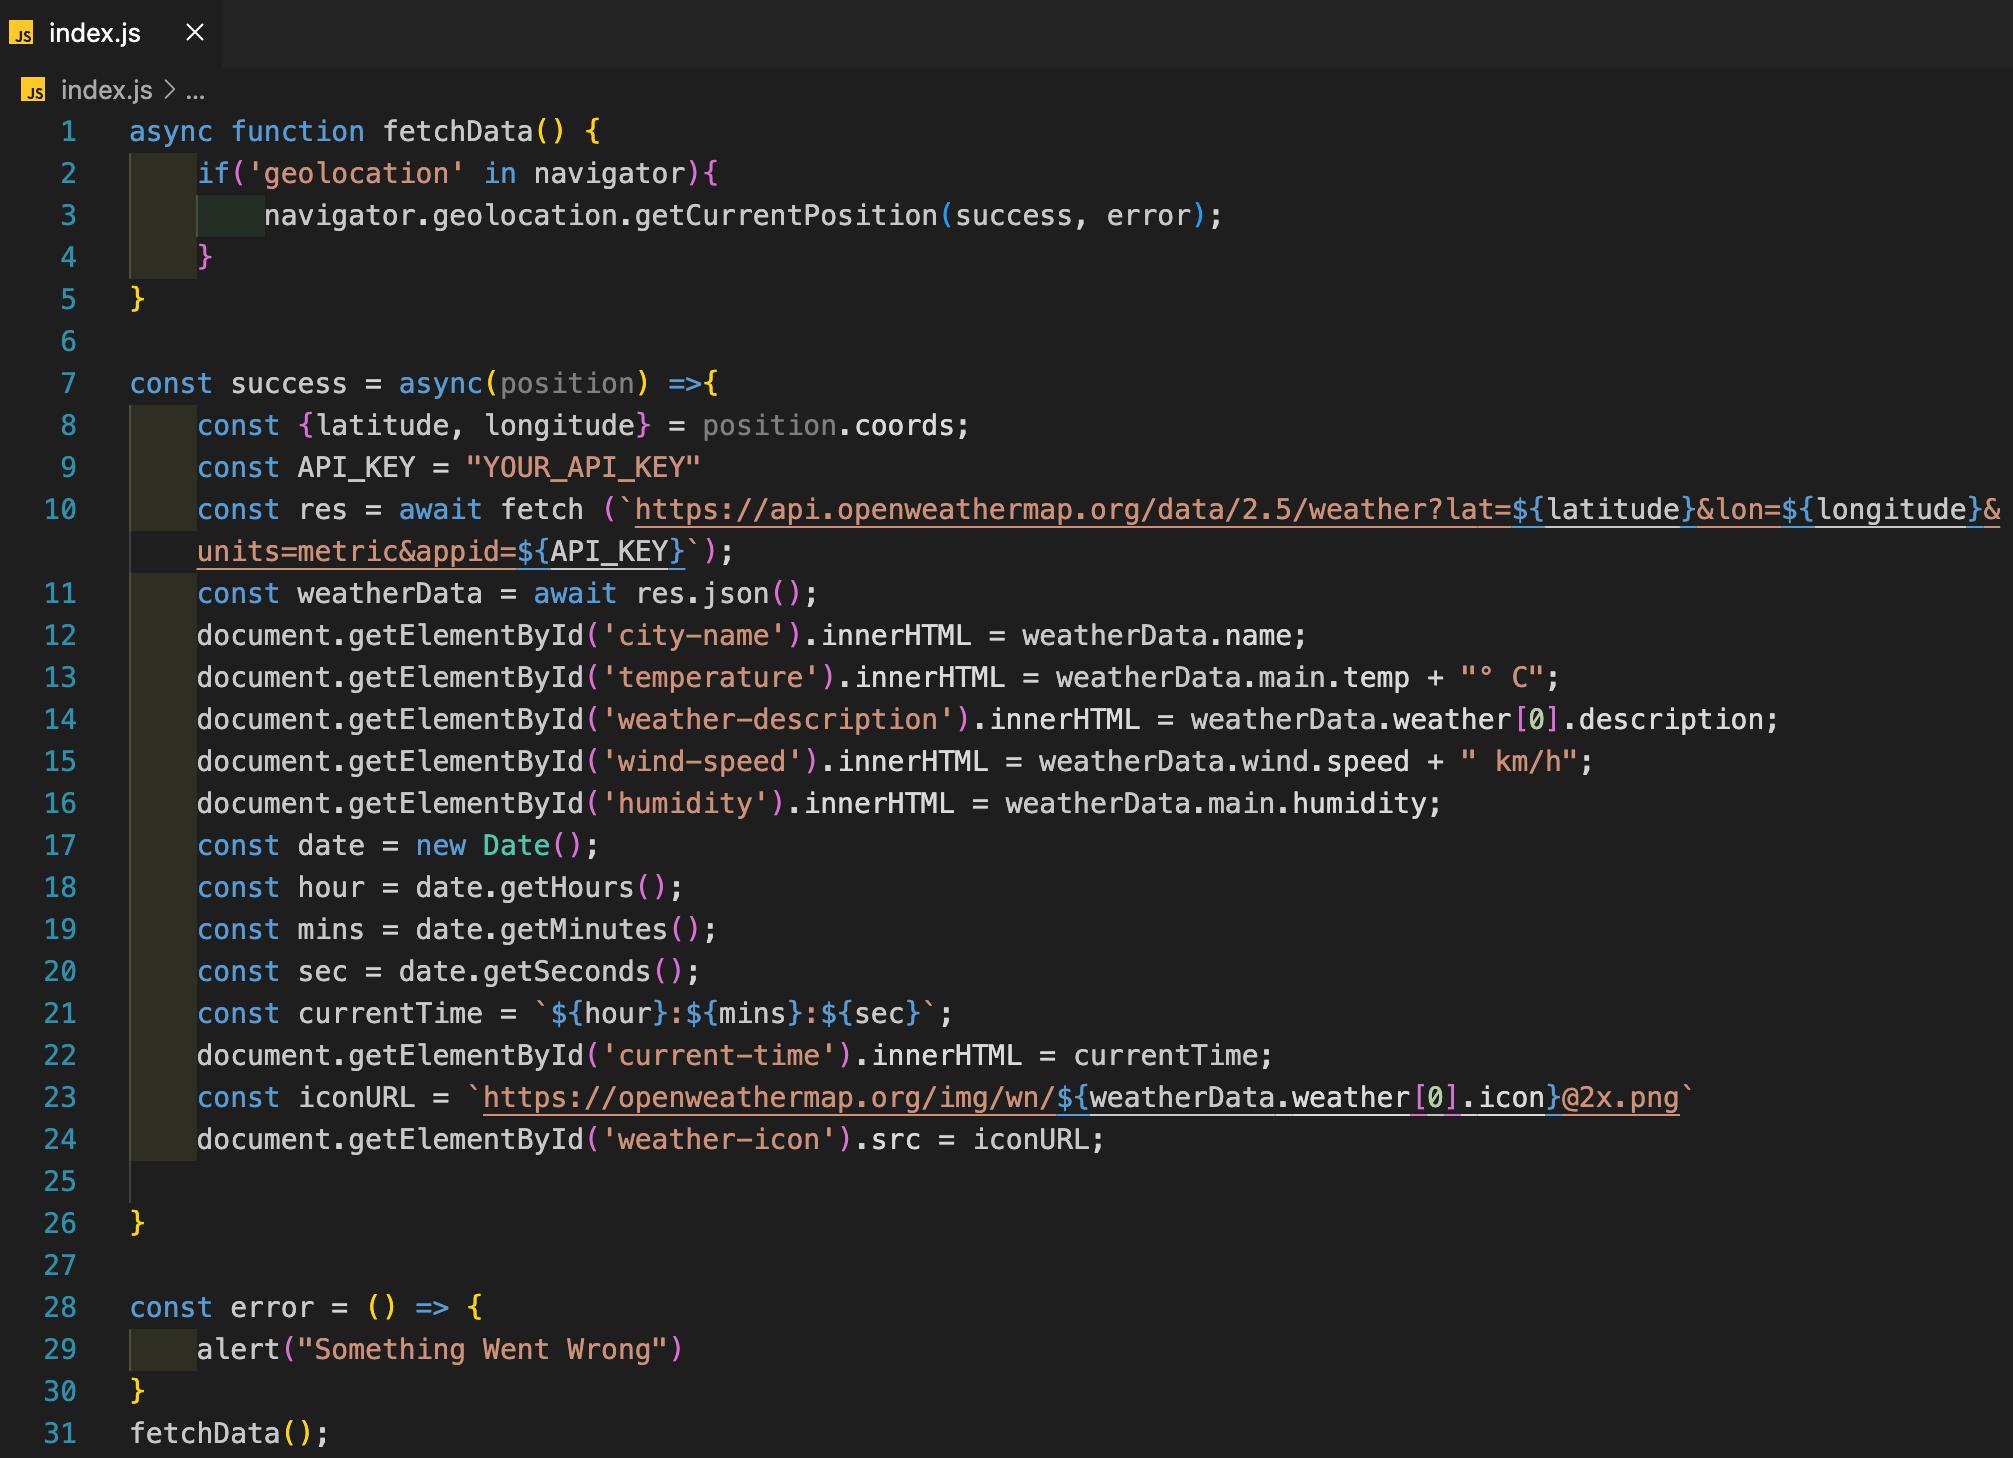
Regarding the icon, we’ll use the URL provided by OpenWeather to fetch the icons based on the icon codes we get from the weather API response. Add the following code to the success function in the index.js file.

The final Javascript code will look as shown in the image below.
Let’s open the browser and check the output.
Now that we have finished coding, we are ready to add this project as an extension to our Chrome browser.
For that, we need to go to “Extensions” and then choose “Manage Extensions” from the browser menu as shown in the picture below.
Once you select Extensions, you’ll be taken to Chrome’s extensions page. Remember to activate Developer mode on this page.
After completing those steps, you should click the “Load unpacked” button and select the path to your project directory. This will enable us to put our project into the Chrome extension store.
Now, the extension is available in our Chrome extension store.
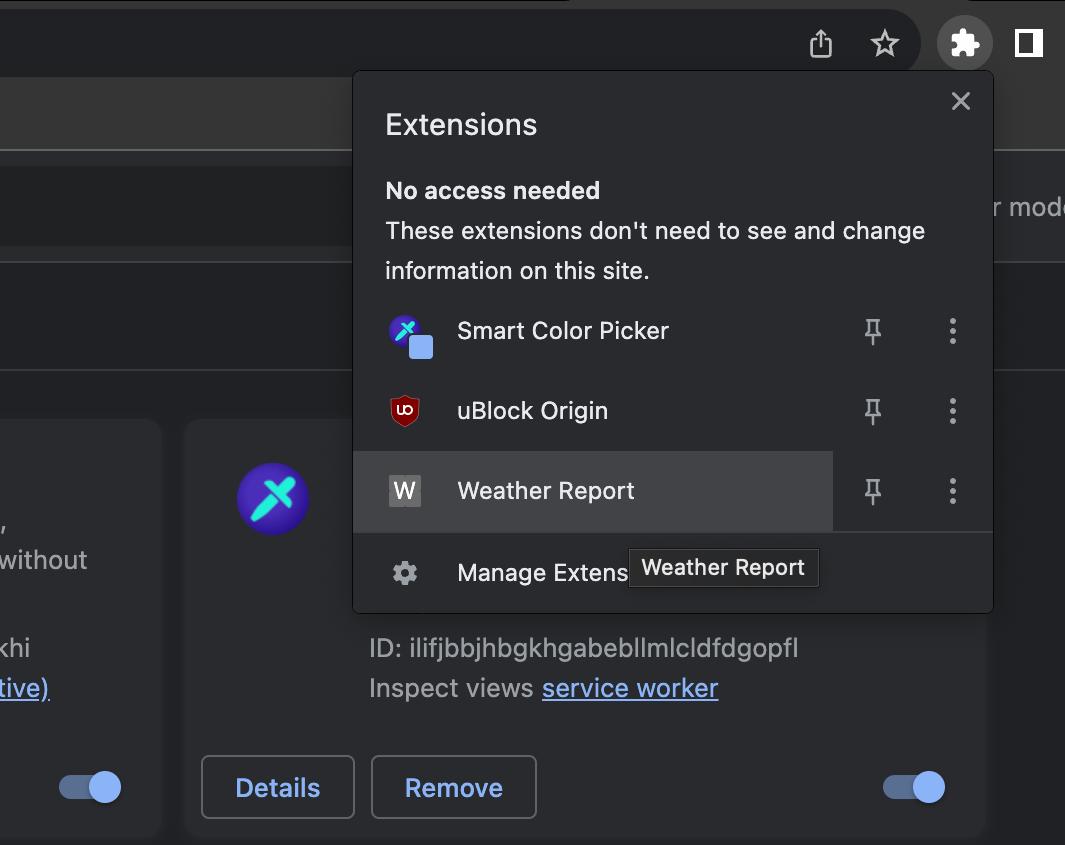
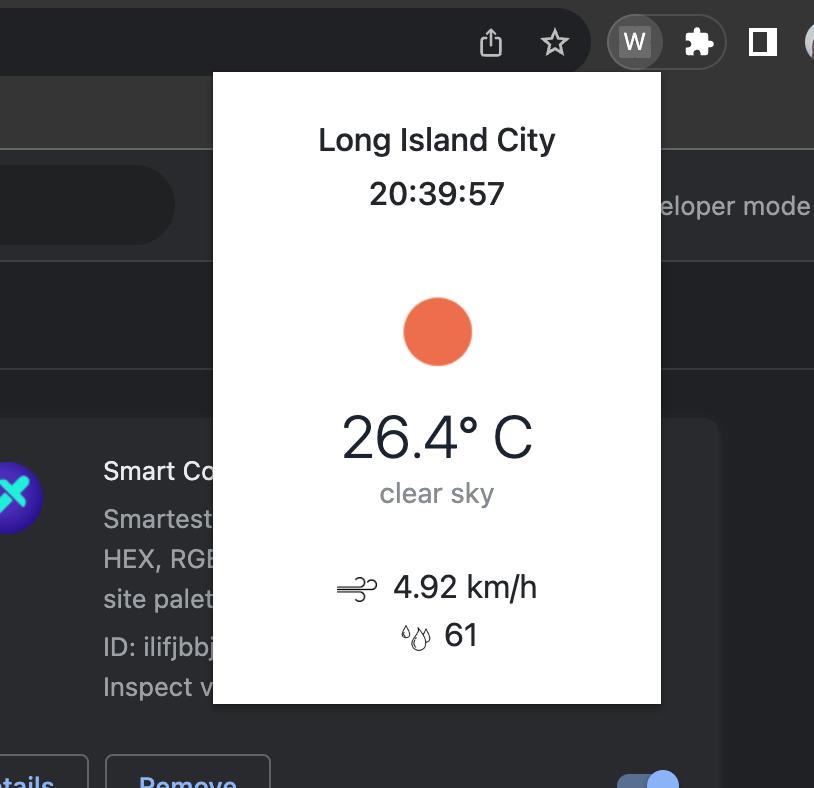
Let’s click on the extension to see the final output.
Conclusion
In this hands-on, we have successfully created a Google Chrome extension from scratch using HTML, CSS, and Javascript. We ensured that we had the latest version of Google Chrome installed and had a suitable code editor ready. After preparing the necessary tools, we established a dedicated directory for our extension project and created the essential ‘manifest.json‘ file. This file played a crucial role in defining the metadata, permissions, and settings for our extension.
As we progressed, we focused on developing the core components of our extension, including the HTML, CSS, and JavaScript files. In these files, we wrote code for a weather report tool, allowing us to check the current weather status of our city. After completing the coding process, we entered the testing phase. By enabling ‘Developer mode’ in Google Chrome, we were able to load our extension and thoroughly test its behavior.
Now, our hard work has paid off, and we have successfully built our very own Chrome extension. It’s an exciting accomplishment, and we can’t wait to explore more possibilities with Chrome extensions in the future! We will come up with more such use cases in our upcoming blogs.
Meanwhile…
If you are an aspiring Frontend developer and want to explore more about the above topics, here are a few of our blogs for your reference:
- How to Handle Authentication in Angular SPAs?
- How to Use NgRx Store in an Angular 15 Application?
- How to Manage State in a React Application Using Redux?
Stay tuned to get all the updates about our upcoming blogs on the cloud and the latest technologies.
Keep Exploring -> Keep Learning -> Keep Mastering
At Workfall, we strive to provide the best tech and pay opportunities to kickass coders around the world. If you’re looking to work with global clients, build cutting-edge products, and make big bucks doing so, give it a shot at workfall.com/partner today!